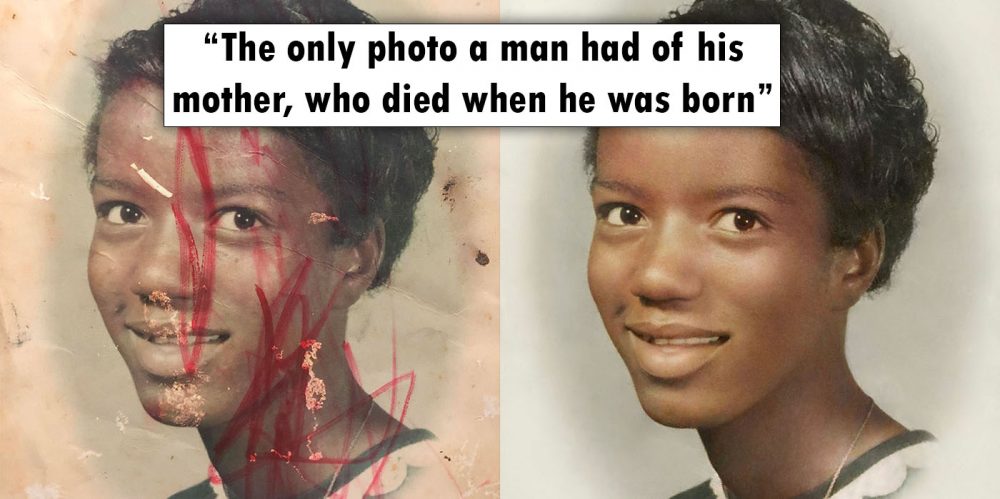
What if your only photo of someone dear got destroyed by accident, and it was apparently “unrestorable”? And, what if you had Michelle Spalding around to help you out in a magical photo restoration through Photoshop? Wouldn’t you be the luckiest?
Michelle Spalding was an artist that typically accepts requests to restore damaged family photos using Photoshop. Some have been heavily damaged, and Michelle enjoys the challenge of reversing the tragedy. In most cases, the photographs are indeed precious and close to the client’s heart. Many times, too, the damaged photo is the only remnant of a beloved individual’s memory. Of course, the artist believes that it’s very much essential to take time in restoring such dear-to-life photographs. She may find it easy to use the most straightforward shortcuts, but her experience tells how careful work can bring out the best results.
This is a woman’s sole photograph of her young child self. It’s also the only image she has of her grandparents.
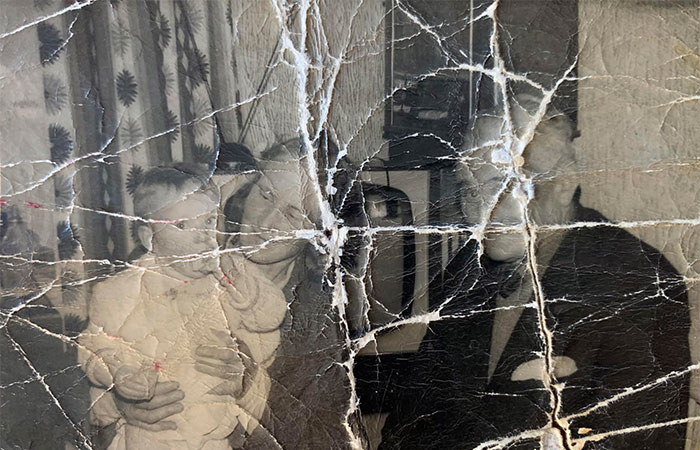
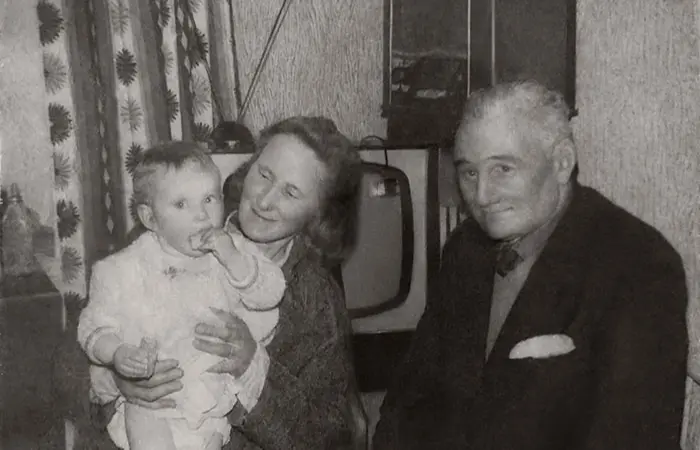
It’s about reducing the contrast.
Obviously, the original image is the one on the left, while the restored image is on the right. Michelle’s technique? It’s about reducing the contrast relative to the cracks and tears in the photo. She then fills the cracks with some samples of the pixels adjacent to them. To do this more precisely, one can use Photoshop tools such as the “content-aware” fill, as well as the healing brush. There are areas, however, which require manual editing by eye. That way, one would keep the undamaged pixels intact. Of course, that’s what Michelle did!
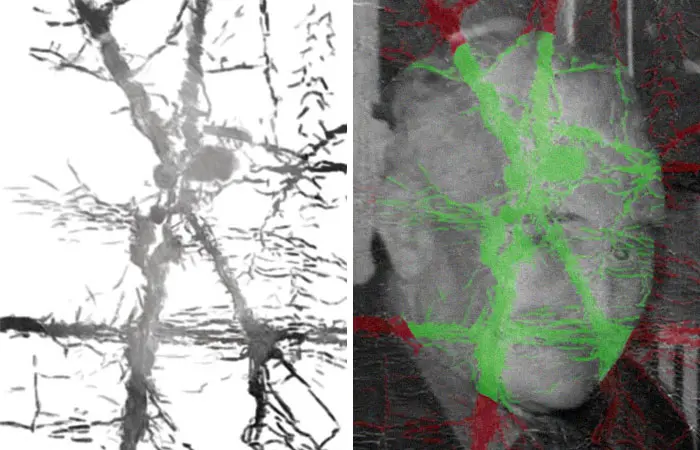
As you can see from the left image, the photo has sampled greys, and Michelle used them to fill the tears and cracks in the picture. The right image, on the other hand, has green areas indicating the missing image data. It’s not really much damage then. When Michelle fills the cracks, she would work in a separate Photoshop layer and only fill those green areas. She won’t paint over those other intact areas, nor would she blend the filling into the areas that surround the missing image data.
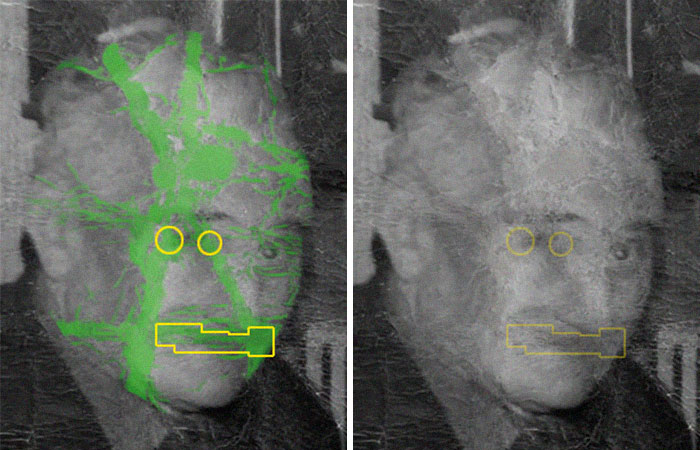
The good thing here is that most of the lost data are in areas Michelle would consider non-critical. That means, there are not much identifiable face features in them. By careful dodging and burning, these spaces would soon flesh out the person’s face in the photo.
It’s the spots marked yellow that is actually critical. This is where a lot of vital details have been lost. The features, of course, are supposed to identify personal appearance. As such, these parts can be challenging to restore. Nonetheless, they’re at least not that big compared to the size of the head.
It helps to pay attention to the bigger picture.
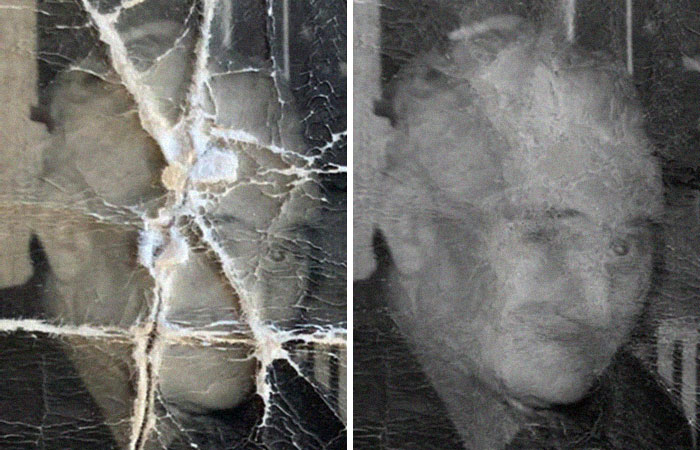
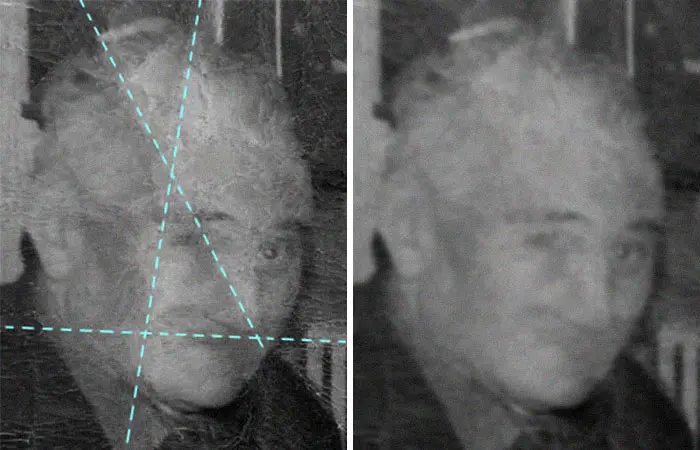
The next thing Michelle would pay attention to is “bigger picture.” When you scan a photo, remember that it can leave highlights and shadows which could mislead the viewer. The dotted lines Michelle added indicate were the largest tears have been. As such, in these areas, she has to focus on shading and analyzing what’s really in the photo and what’s not. In other words, she has to dismiss the shadow effects of the scanner’s lamp.
At this point, an artist’s knowledge of anatomy becomes critical. One would need to balance the shading so that everything will agree with the skull’s shape as well as the flesh. What Michelle usually does is to blur or squint and then undo it, just so she could picture the form better.
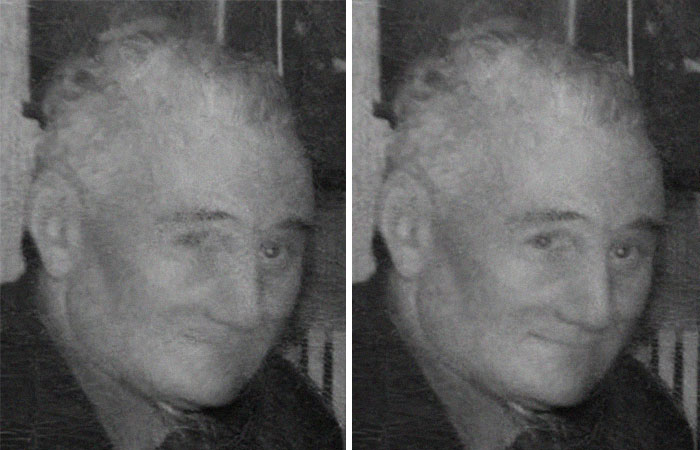
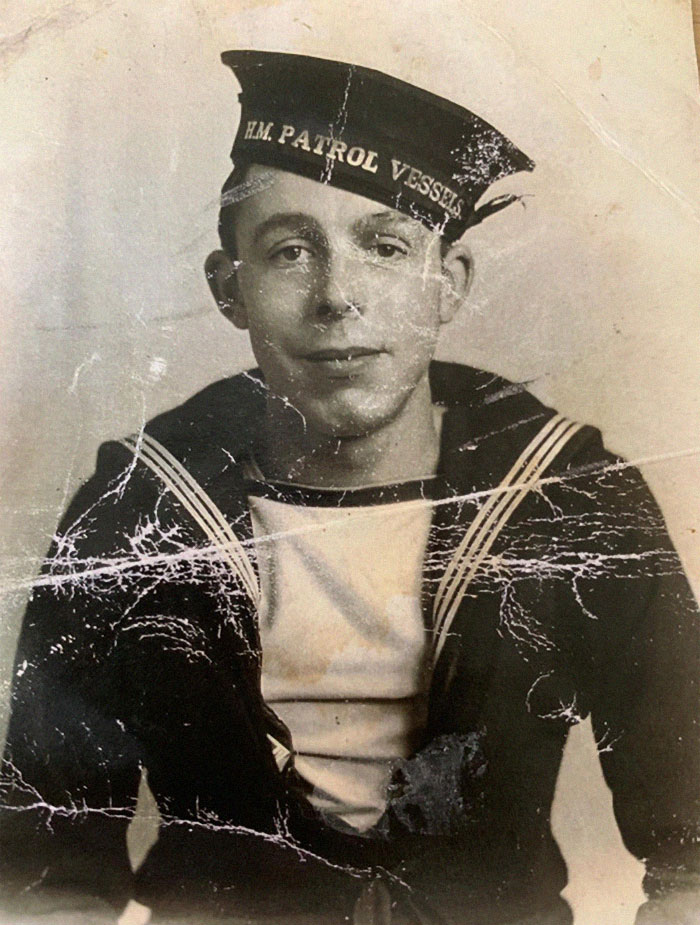
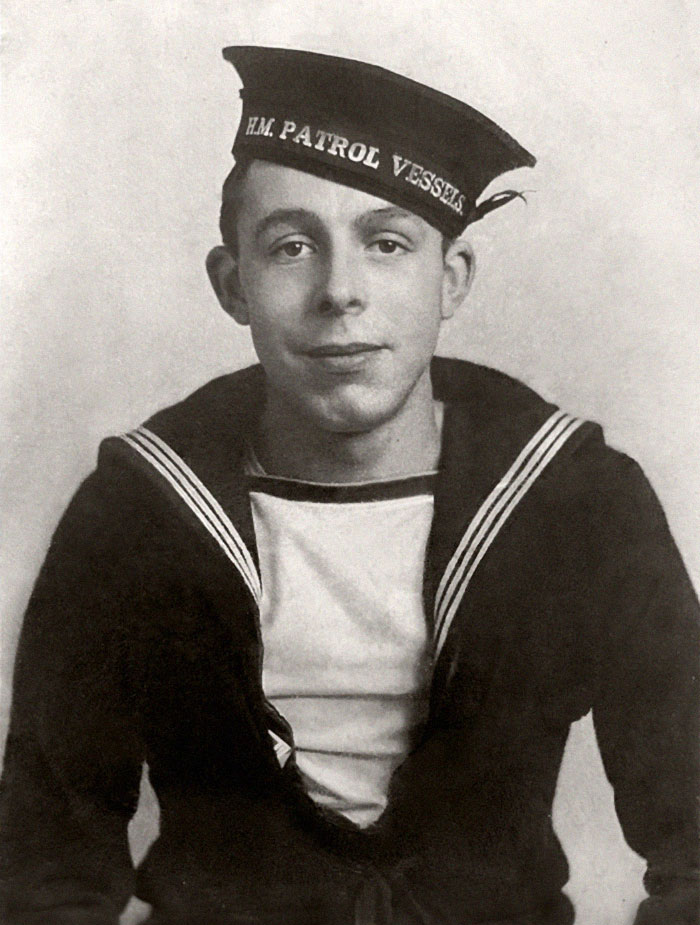
In the left image, you’ll see quite an accurate reconstruction of the man’s face in the photo. Michelle reached this point by using both manual and digital sampling techniques. Take note that she only uses the smallest brushes for to dodge or burn. Then, she created more details in the man’s features. Some details were generic, while others were just suited alongside the other elements. This is precisely what she did in the right image above. Really, if one has any knowledge of anatomy and illustration, this is where you come in. Skills in these areas genuinely help in the process of restoration. Well, it may not always be possible for you to achieve a “historically” accurate picture. But, at least you’ll have a result that will be so much closer to the actual appearance of the person in the photo than if you used other restoration techniques.
So, Michelle would like to advise everyone who attempts these kinds of ventures to save those tricks and shortcuts for non-critical areas. And, what are those critical areas? They’re the eyes, nose, and mouth. Indeed, you’ll know yourself that working pixel by pixel is such a tedious job. Nonetheless, the results of doing so can be gratifying.
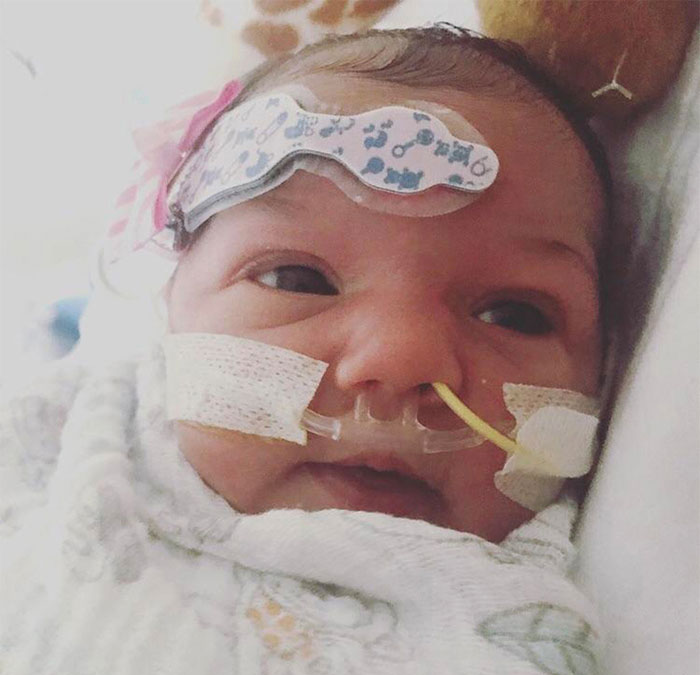
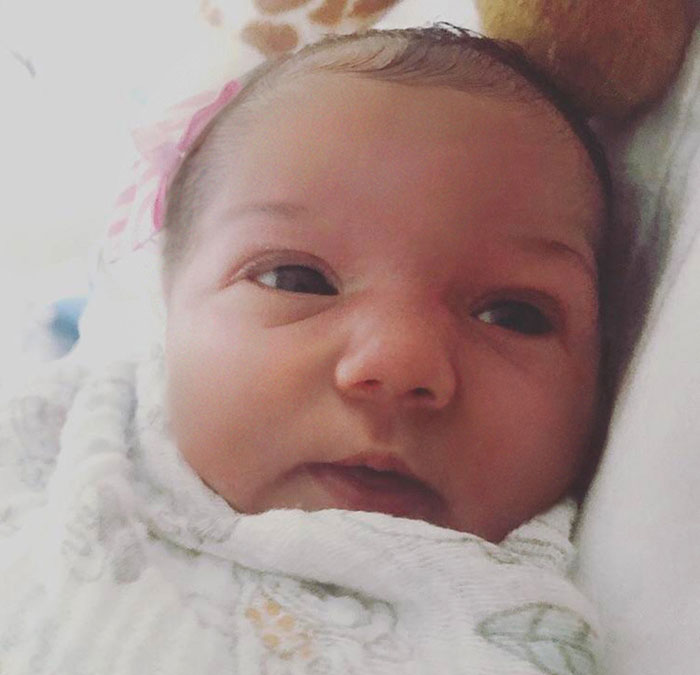
Michelle Spalding also removed tubes from a baby’s photo.
She also repaired this photo of a client’s mother when she was younger.
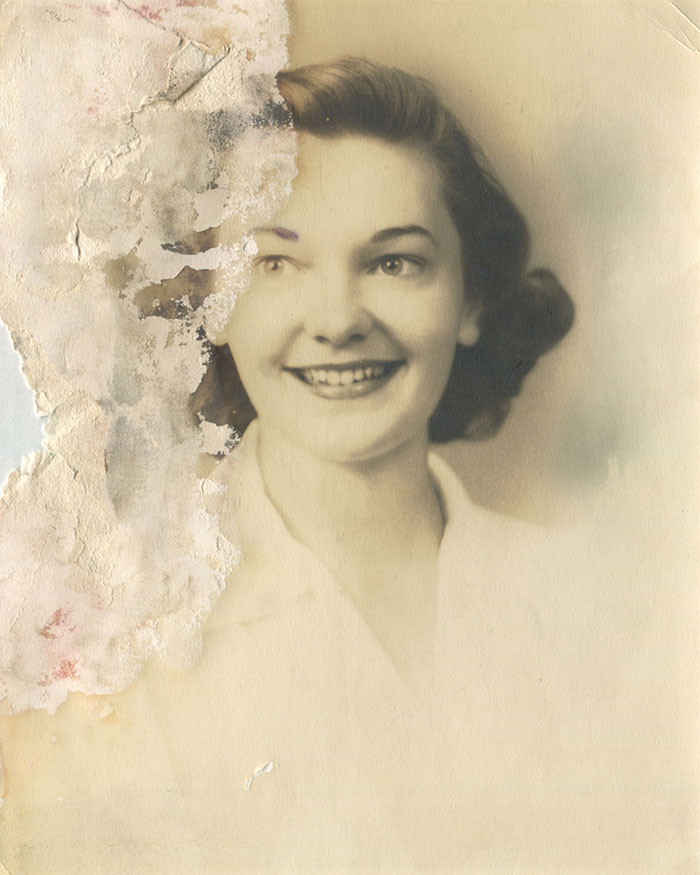
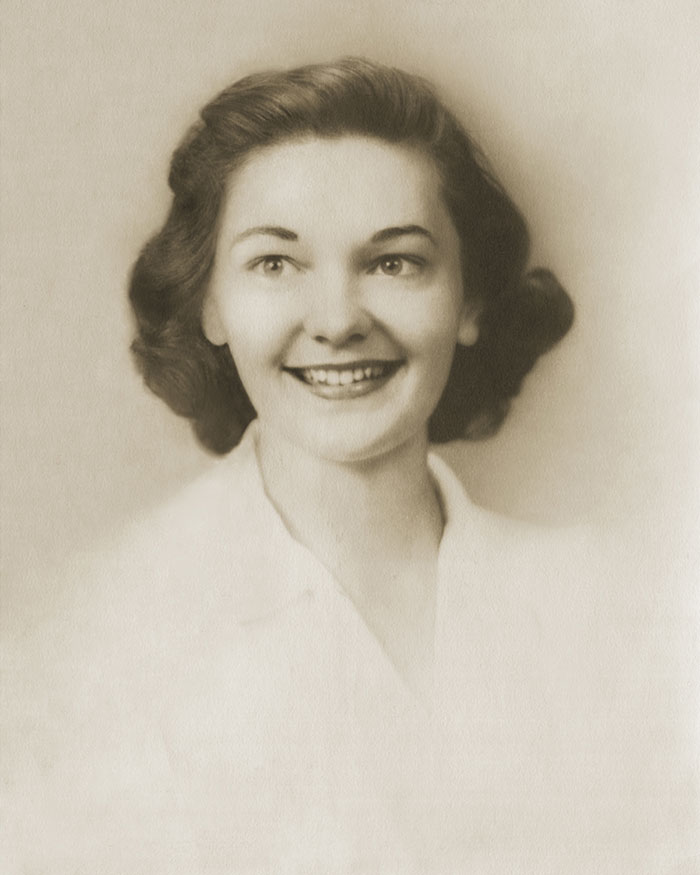
Here’s the only photo of a man’s mother. He lost her right after his birth.
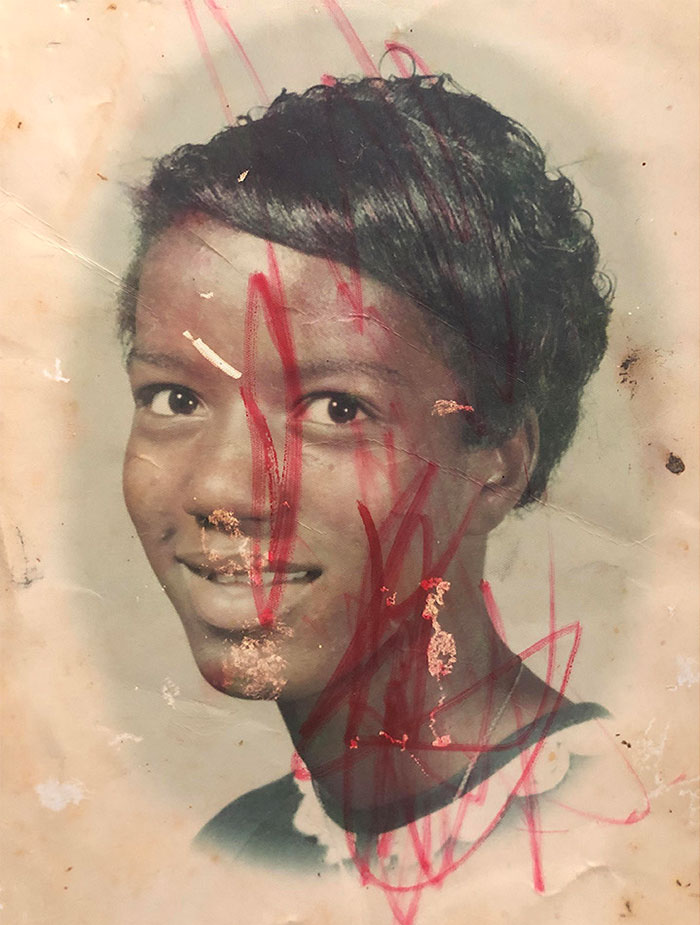
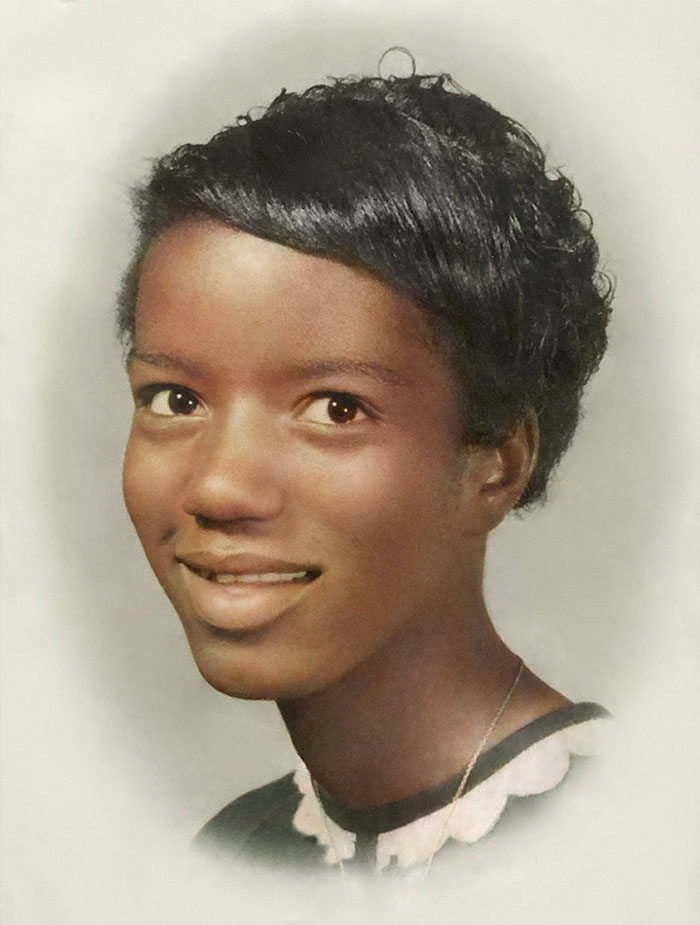
A family photo from the 20th century.
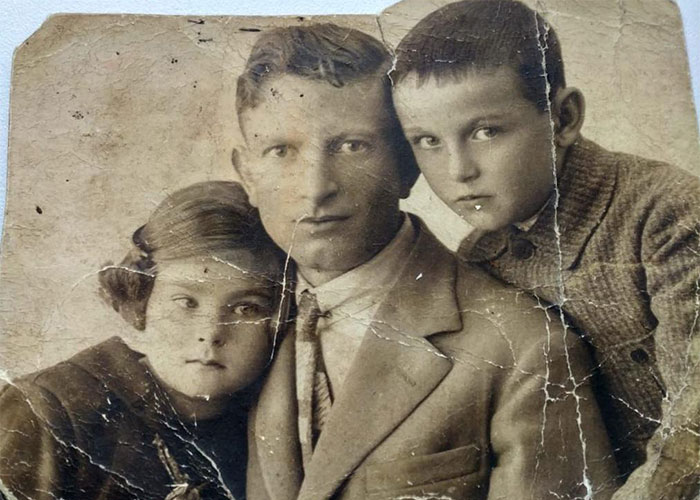
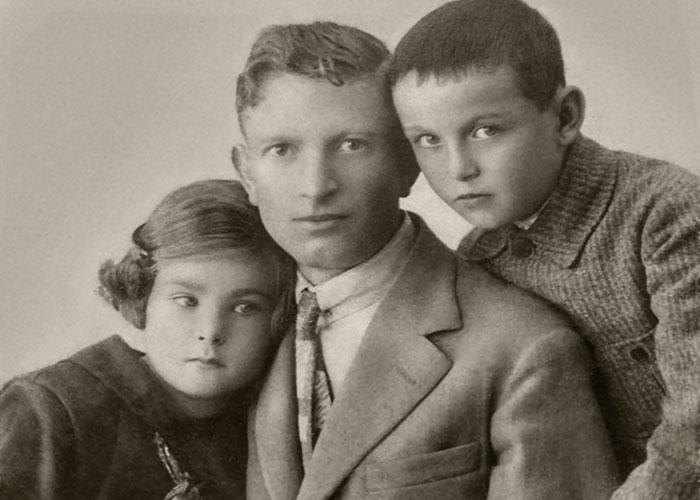
This photo is one uncle’s favorite. It was destroyed by a cat.

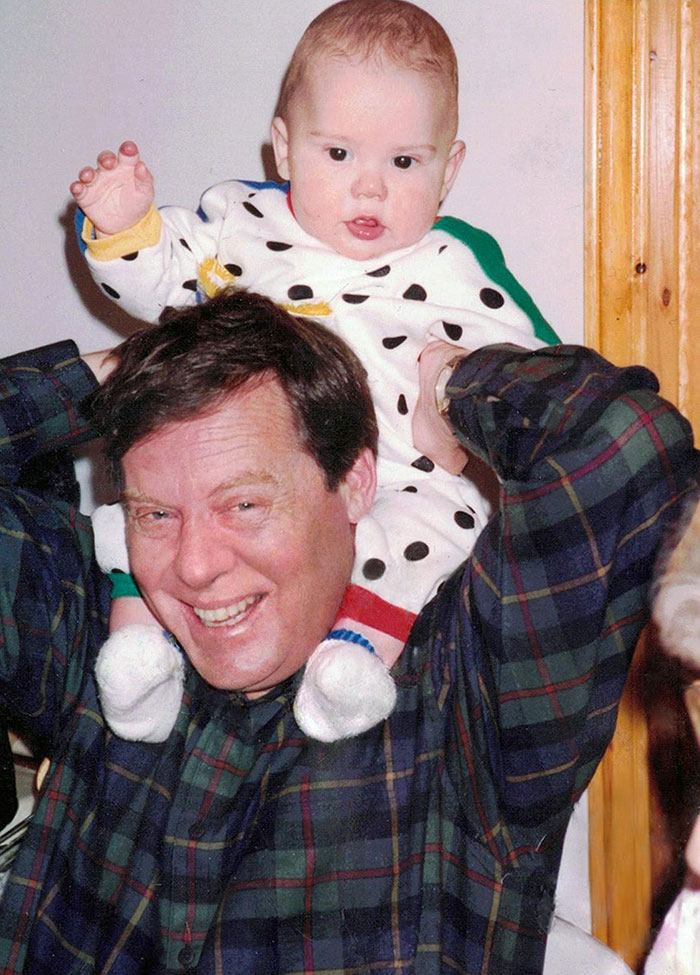
A client’s only photo of her childhood.
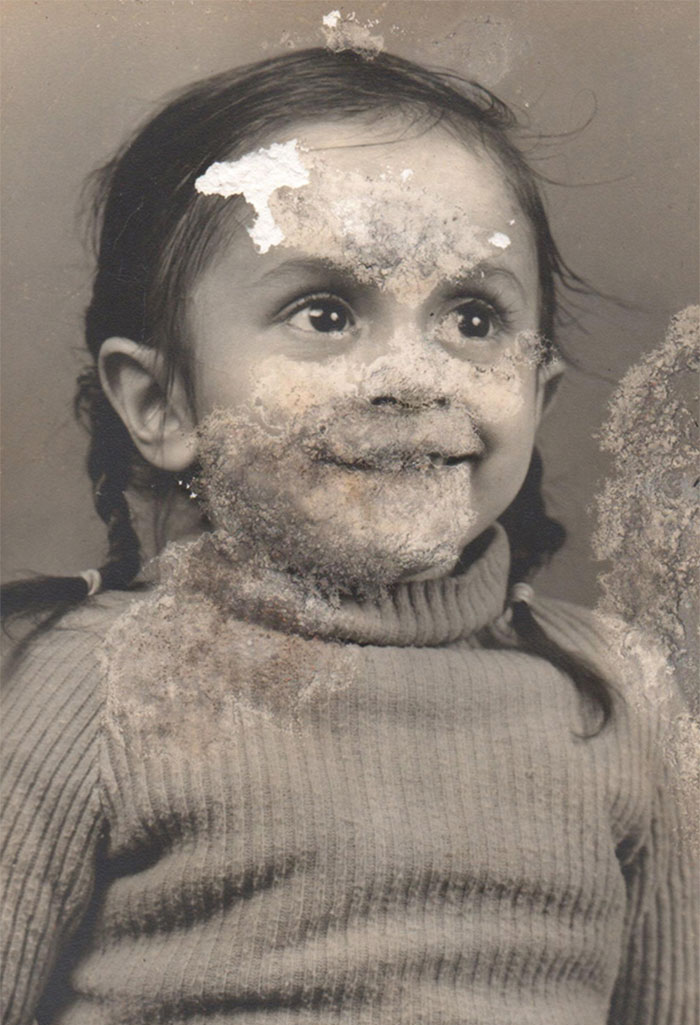
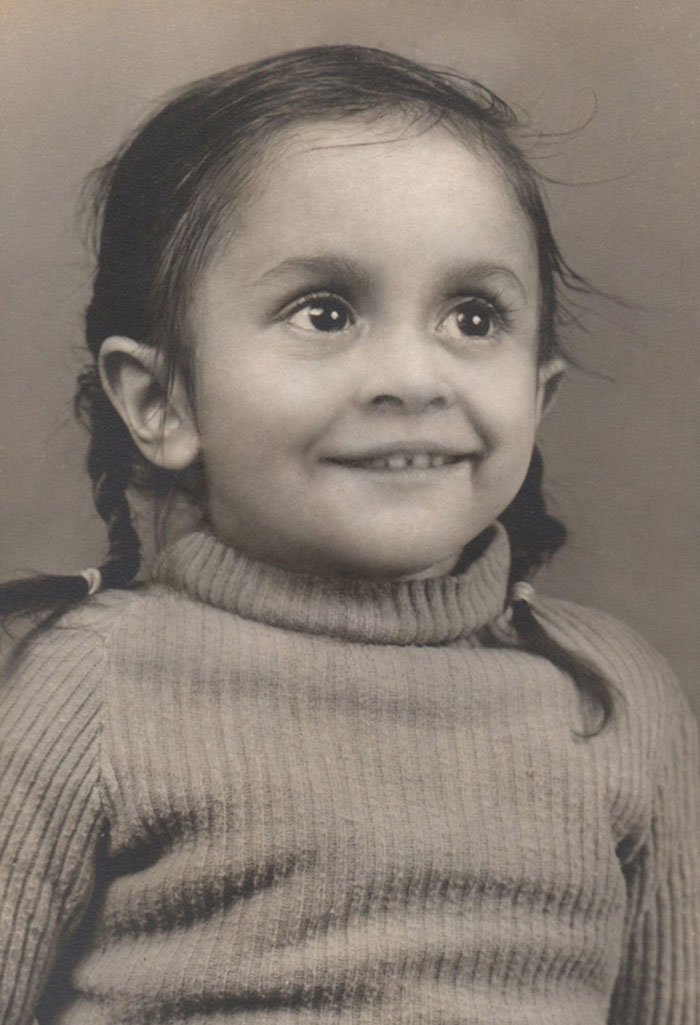
Photo restoration of one image that had a large shadow
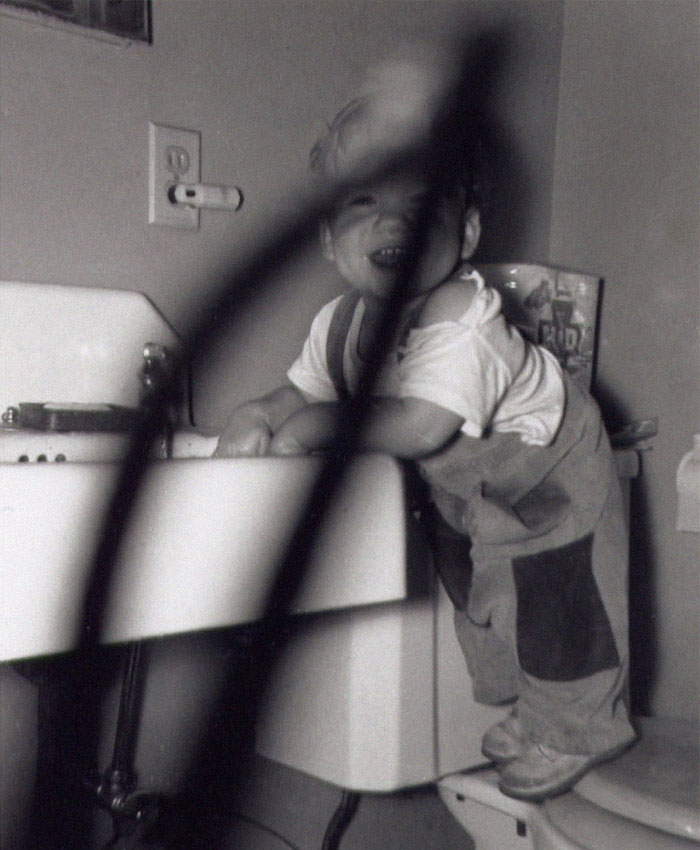
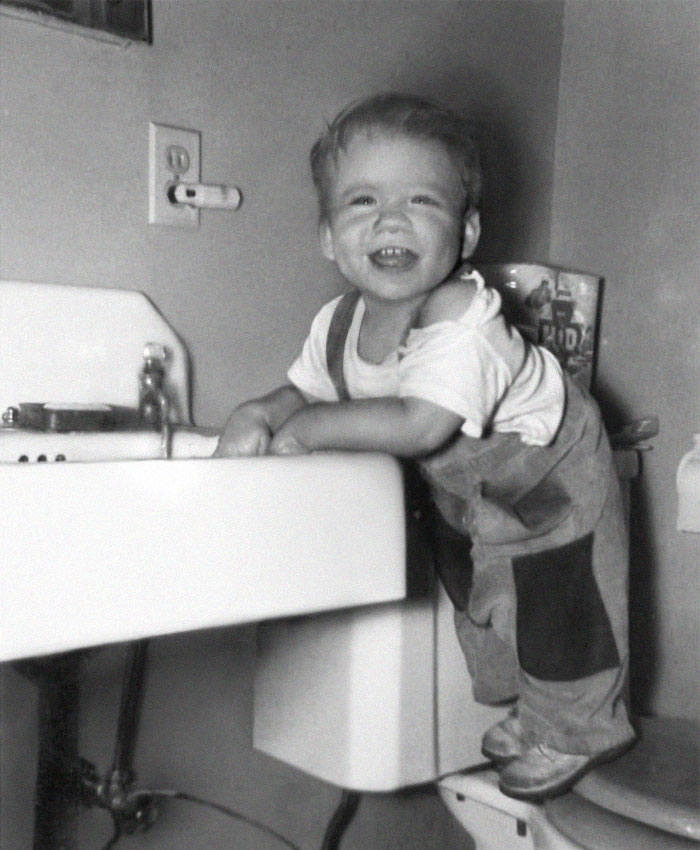
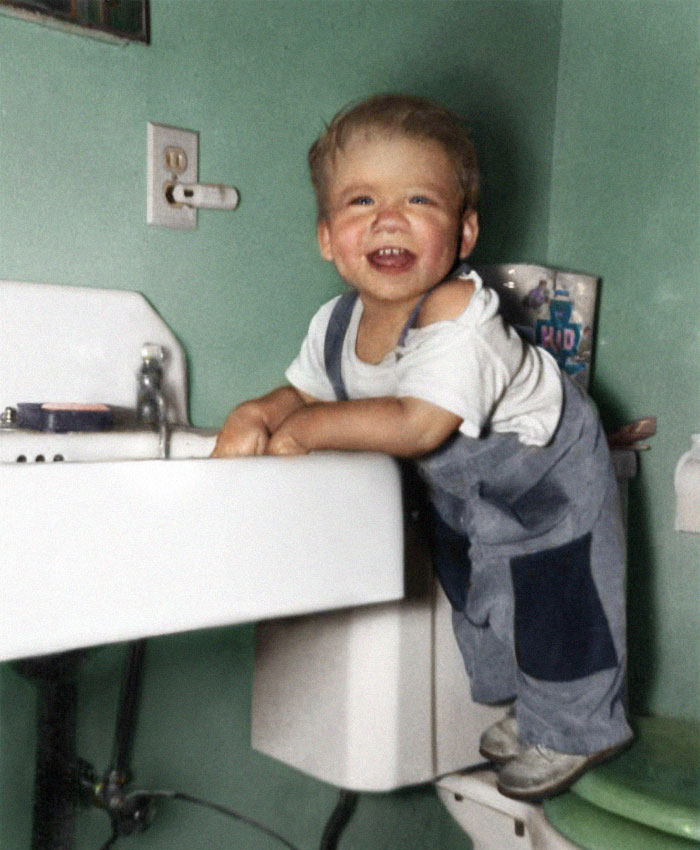
An ancestor’s only photograph as a child
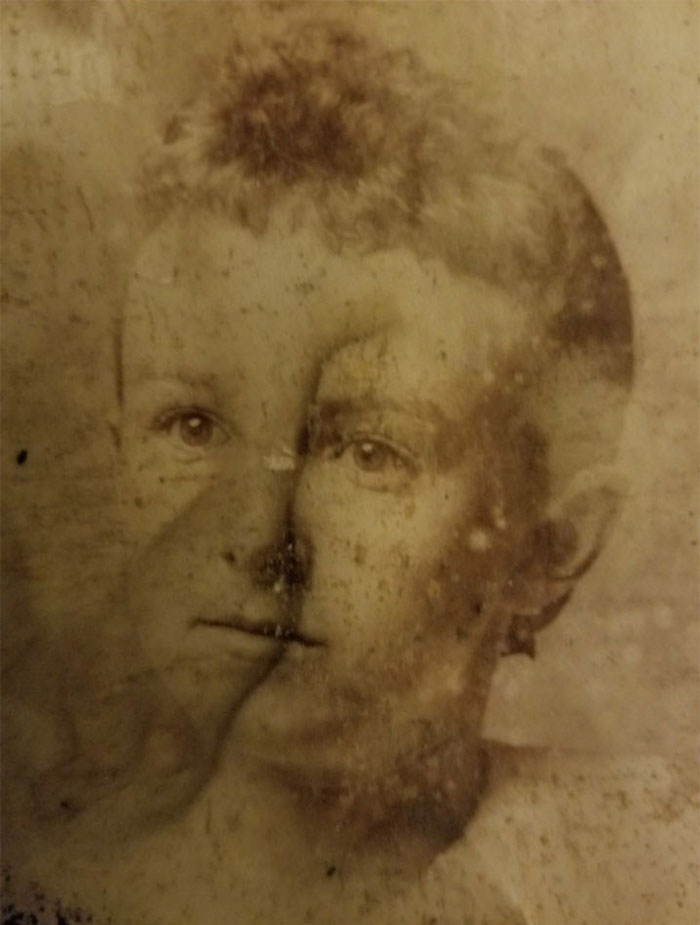
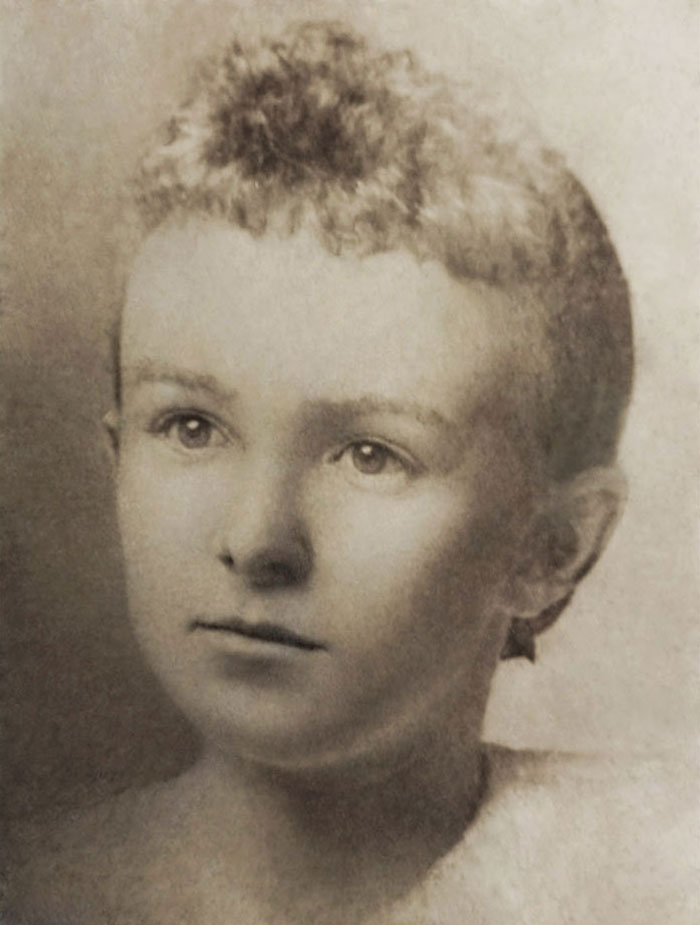
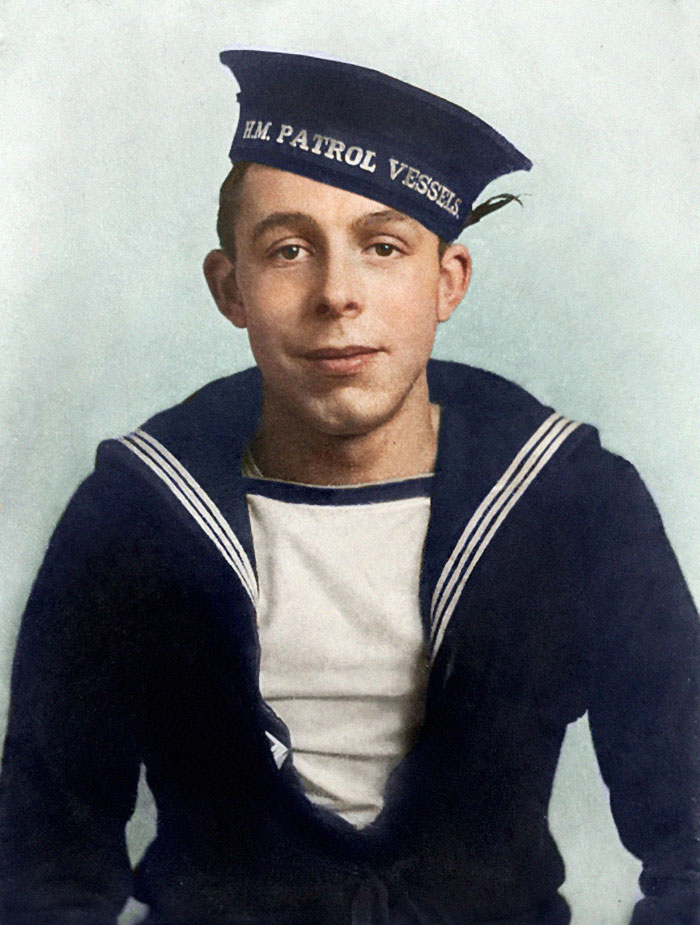
A long lost relative’s photo repaired and colorized.
Source: Reddit / BoredPanda

