
Do you ever find yourself envious of other people’s homes and the furniture that they behold? Maybe you’ve been wanting to redecorate your own house for a while but can’t afford it or haven’t found anything you liked yet. Well, here we present what could be a great addition to your home! Costing hardly anything, these unique bookshelves can be made in a few simple steps and personalized to the space and design that suits you. Take a look, we may just have found your next project!
Website: Hefty
Before you start, you’ll need these items:
– wooden crates
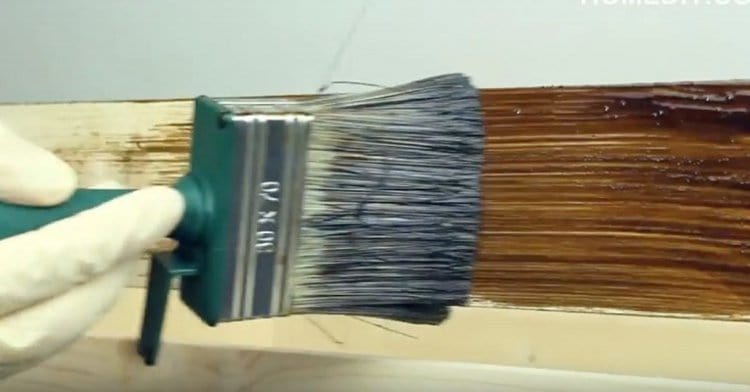
– wood varnish and a large paint brush
– a drill and some screws
– wood glue
– large binder clips
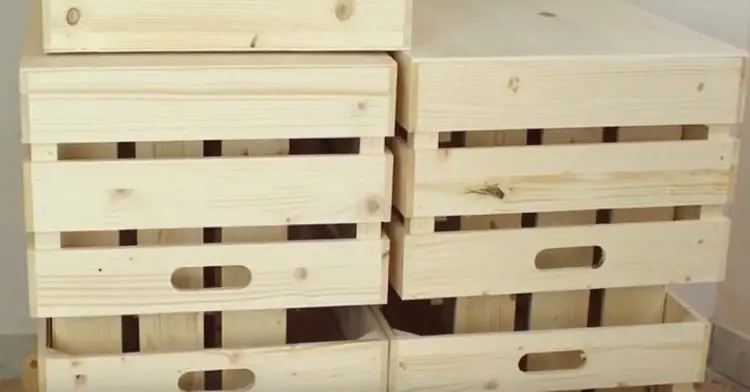
To start, vanish all of your crates. It may be a little time consuming but this gives the shelves such a nice finish.
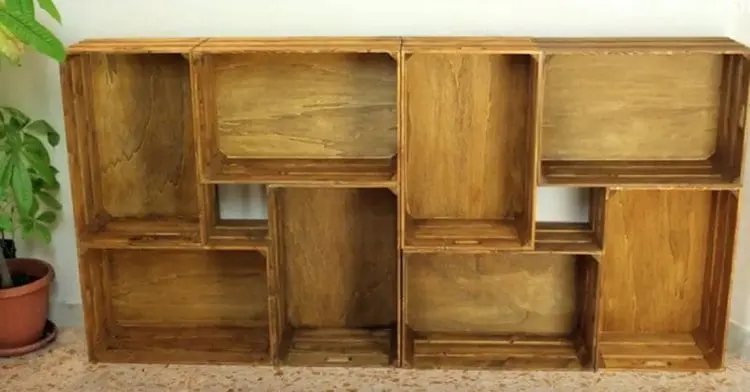
Next, stack the crates in a pattern of your choosing.
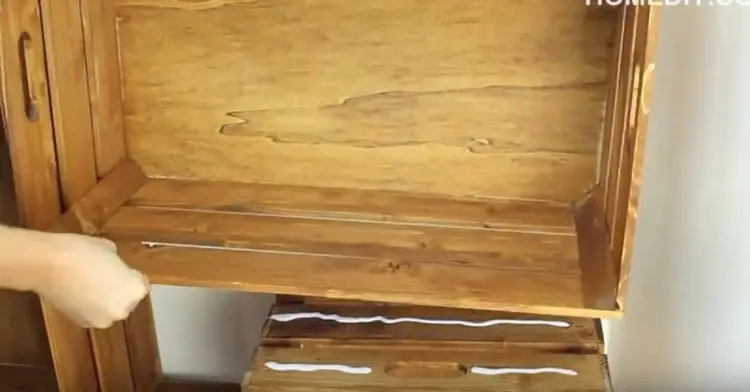
Place the wood glue in the necessary areas…
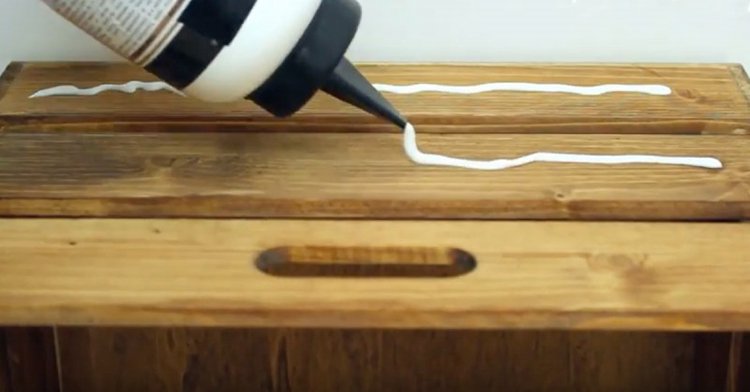
You can use this image for reference on how much glue to use.
Then use your large binder clips to hold the crates in position.
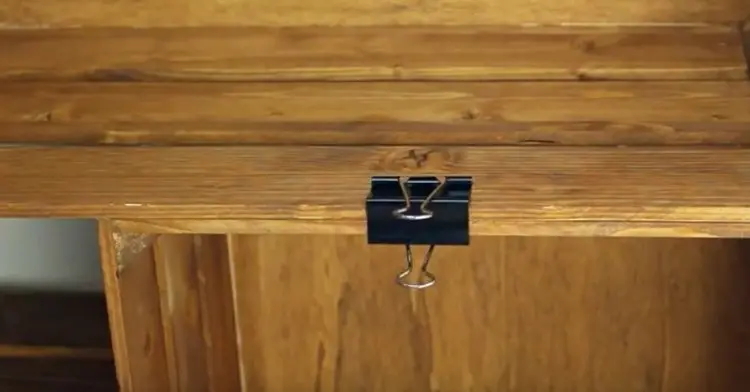
Allow the crates to dry over night.
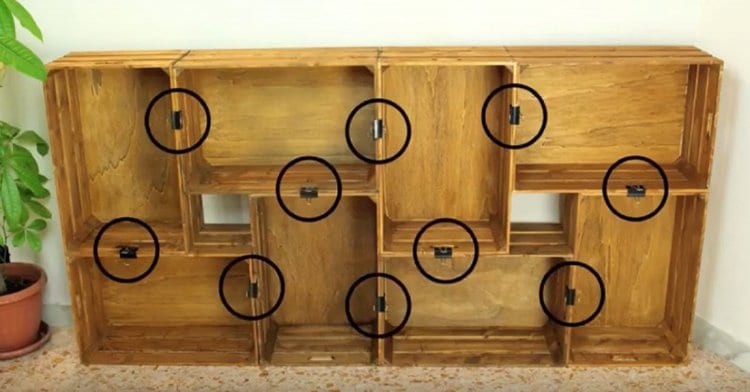
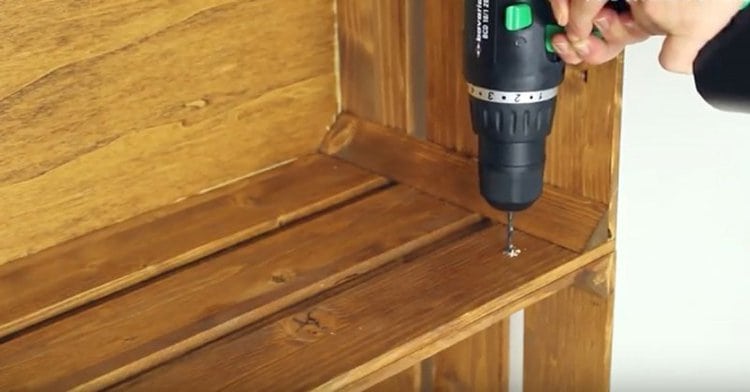
Next, you need to screw the crates together.
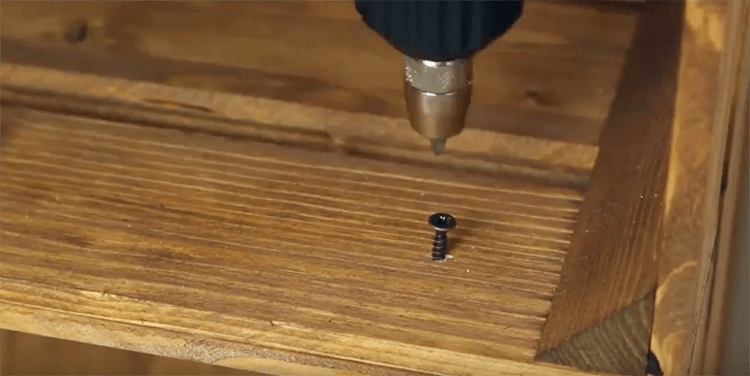
Two screws on each side should suffice.
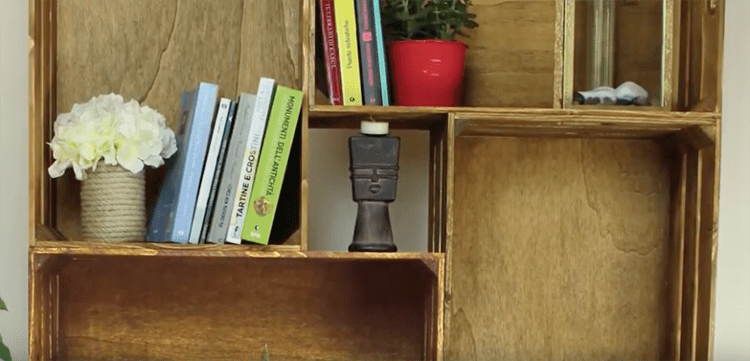
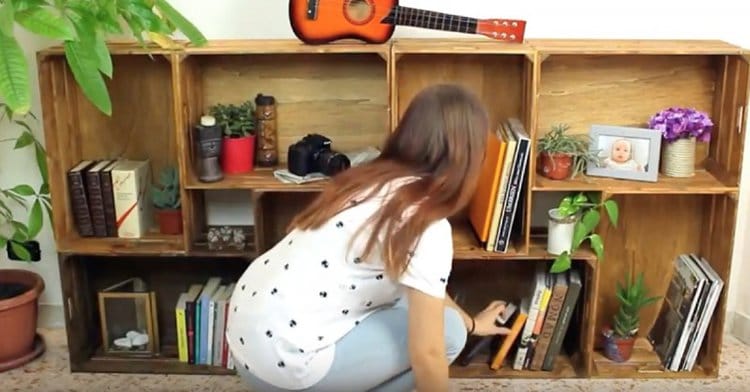
And, that’s it! So simple, right? Now you can organize your possessions on your lovely new shelves.
We just love a project that even those who aren’t used to DIY can complete with ease.
Here’s a video of all of the steps…
Source:1