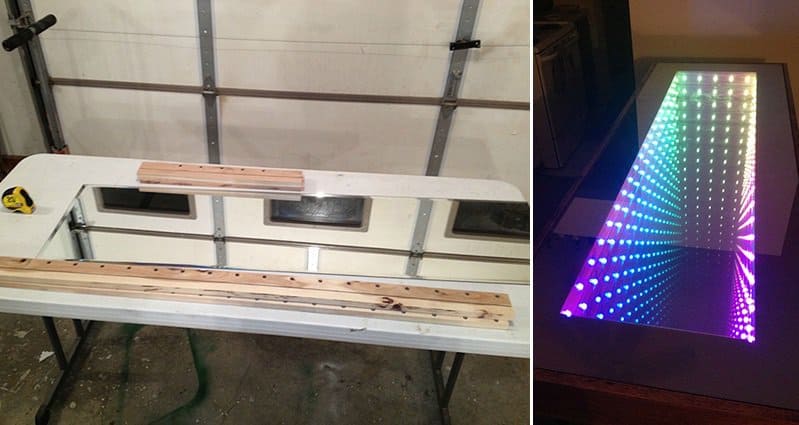
Sometimes living with roommates can be tricky. There are so many possible things to fall out about and disagree on. However, here we present a group of friends who had no issue agreeing on a piece of furniture that they wanted for their apartment! You may or may not have seen, or heard of, ‘infinity mirror tables’. If you haven’t, you’re about to be mind blown! And, even if you have, we still think you’ll be impressed with this group’s awesome creativity and efforts.
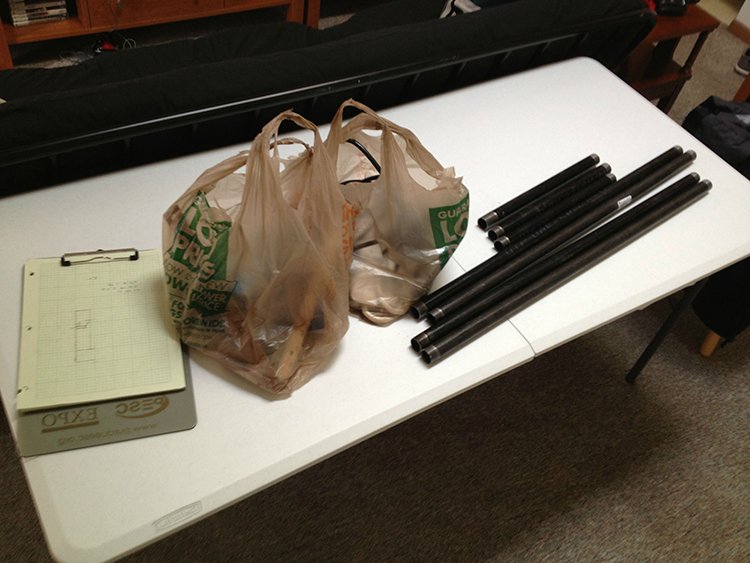
The planning board and materials…
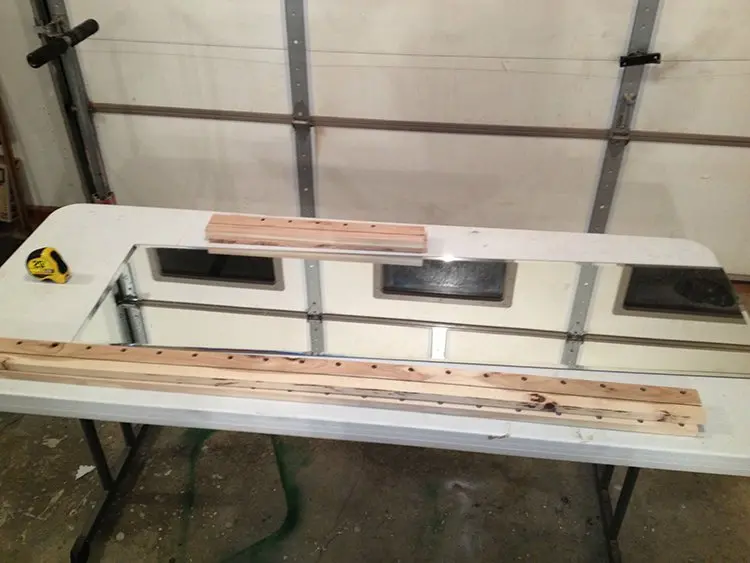
The group found a cheap door mirror at a local shop. Due to it having beveled edges, slits were cut into the wood boards that would cover them and support the mirror nicely. The holes that you see in the boards will later hold the LED lights.
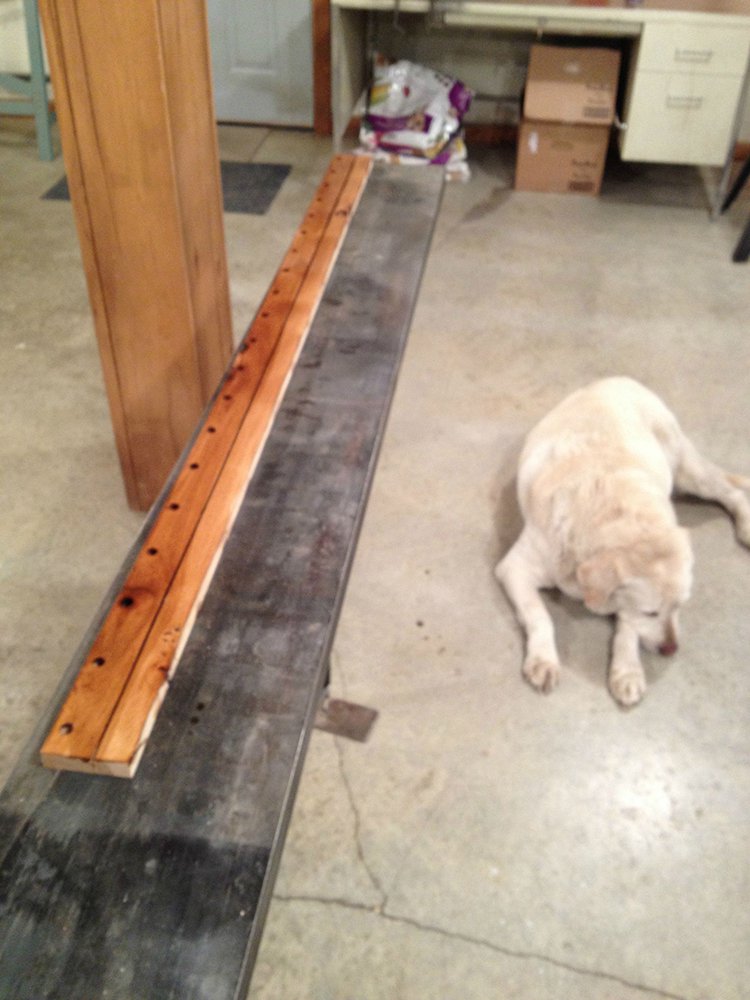
A stain for the wood was chosen.
Clamps were used to hold the longer boards in place whilst measurements were made. They also helped with any warping the boards had and the group could check that the beveled edges were fully covered.
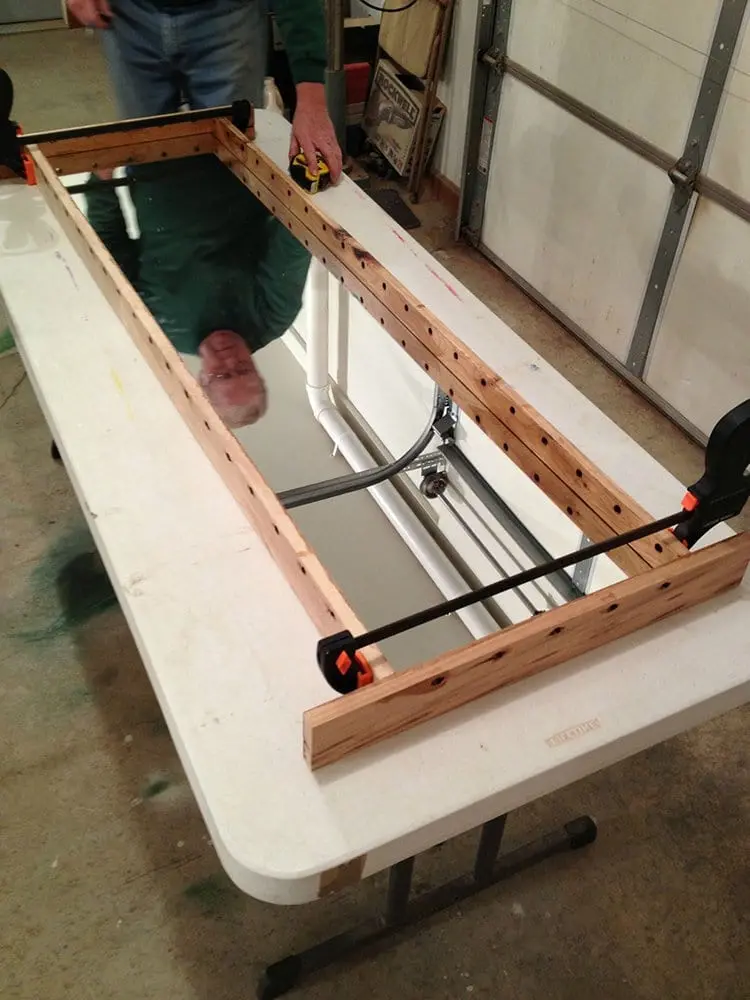
After checking was complete, the end boards were screwed on.
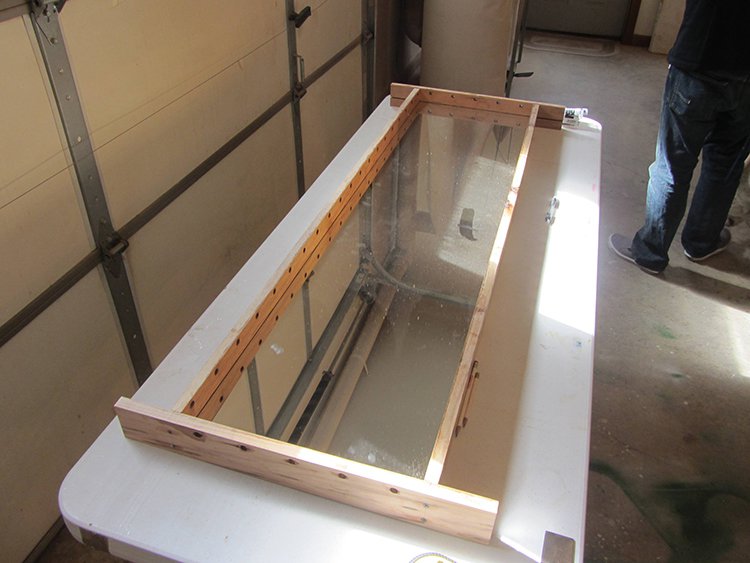
Large holes were drilled to allow for cables.
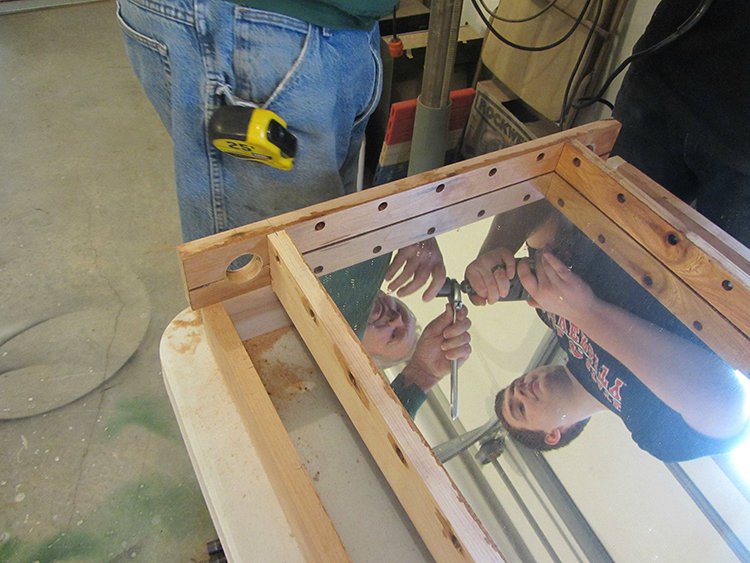
Corner blocks were attached to support the leg flanges after the outer boards were attached.
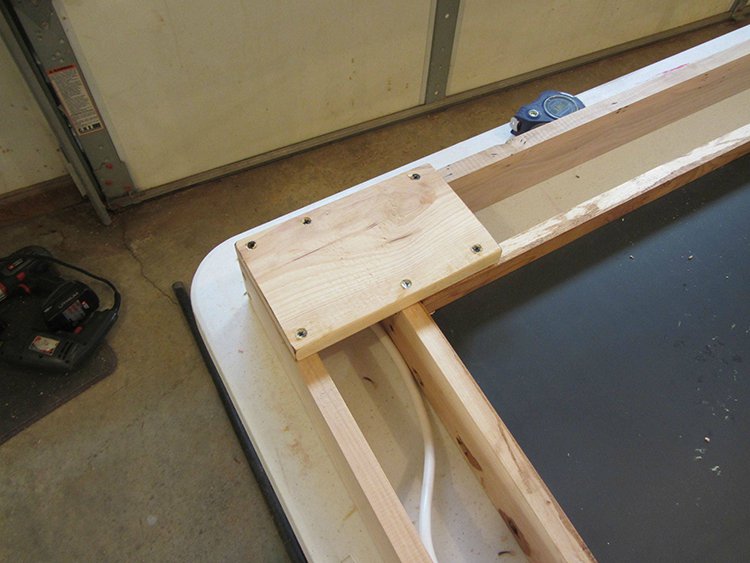
A piece of wood was added in the middle of the structure for support, it would also hold the power strip.
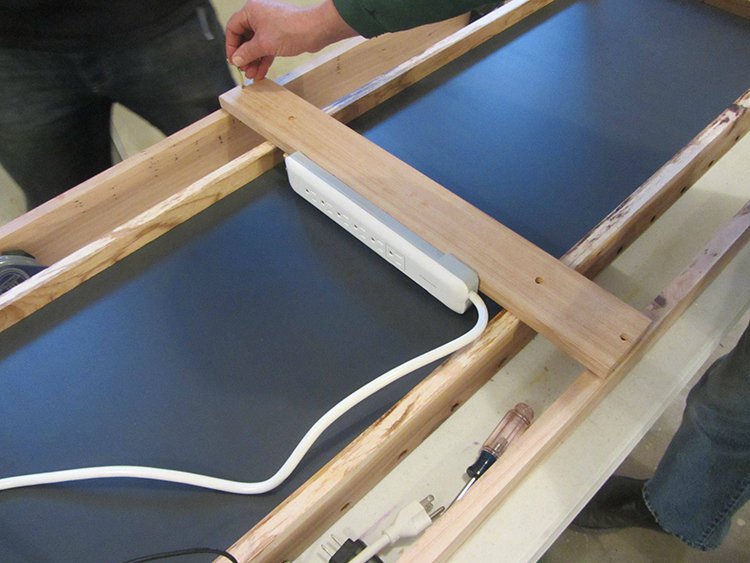
Power outlets were homemade that would be plugged into the power strip.
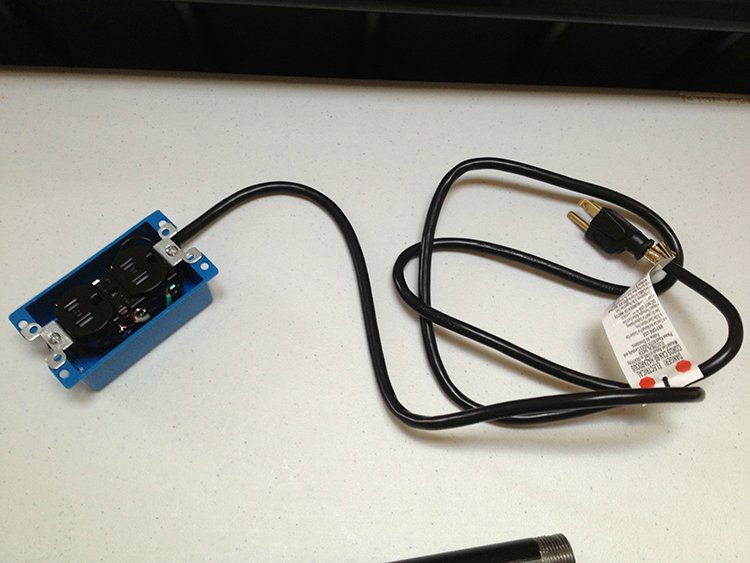
Housing was made for the power outlets.
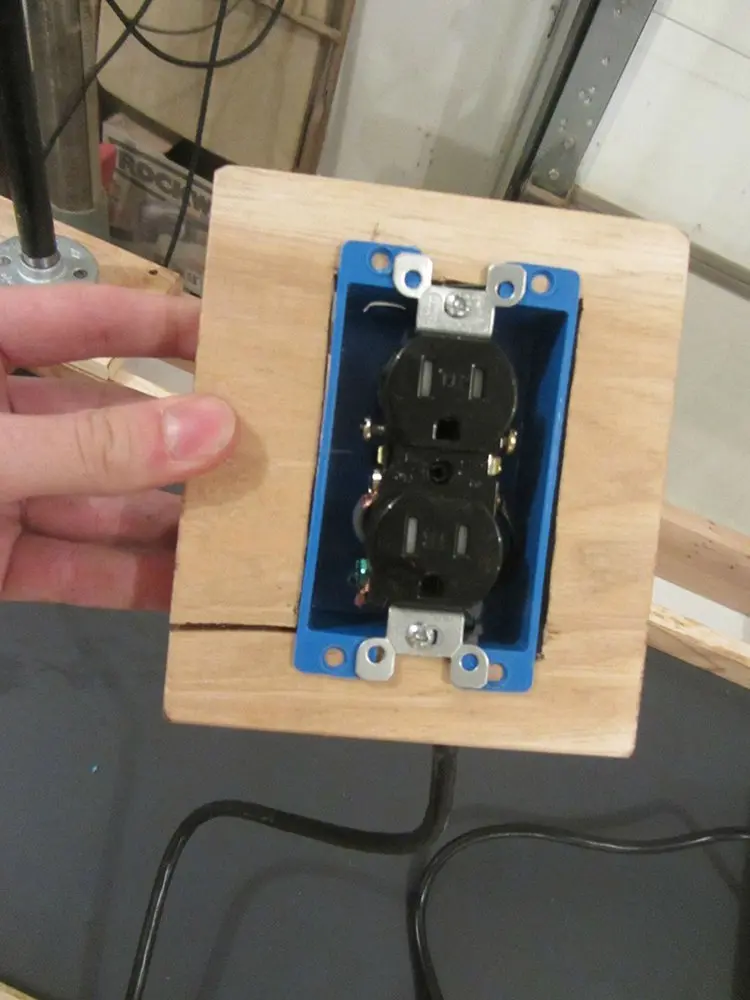
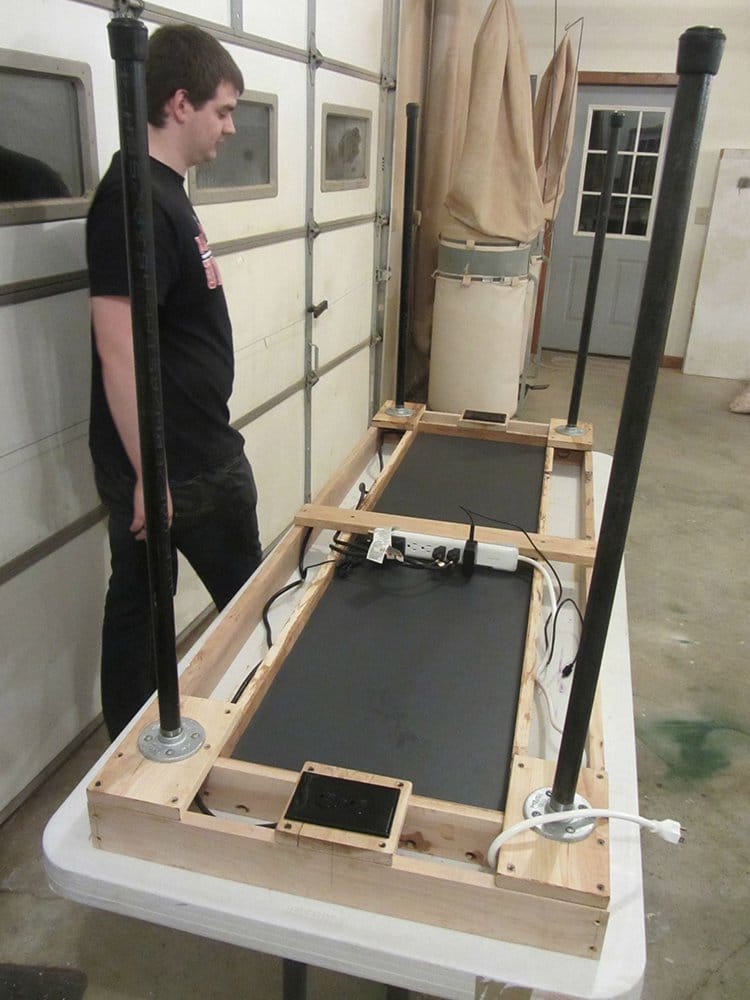
One power outlet was added to each end of the table.
Biscuits and wood glue were used to make a ‘firm yet attractive’ connection.
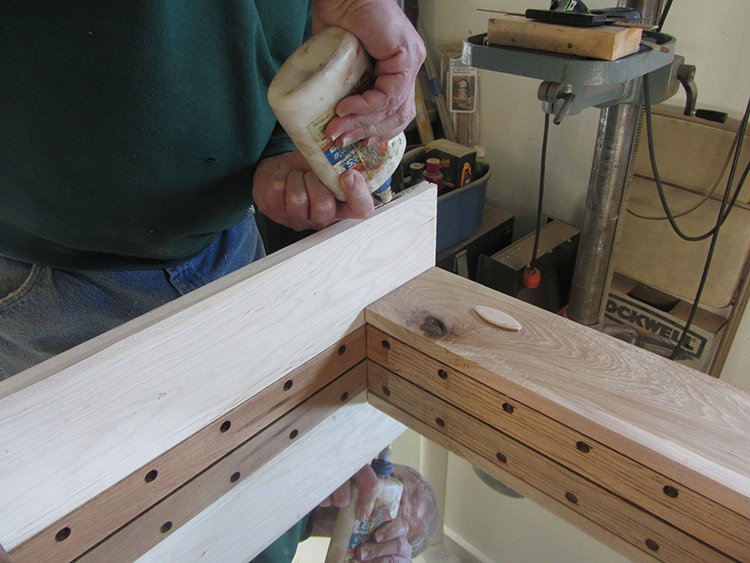
The sides were clamped together and then left to dry overnight. It was super important to ensure that everything was level and smooth as the two way mirror used to create the infinity mirror effect would be set on top eventually.
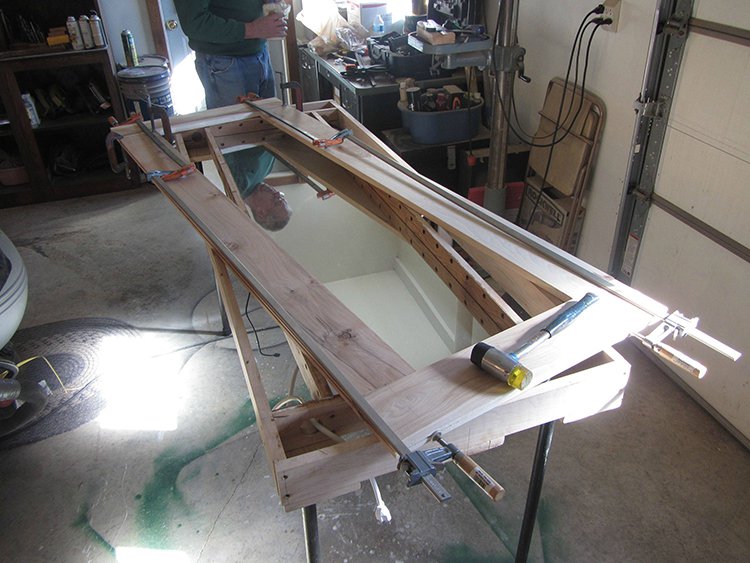
What you see here is the group’s ‘top shell’ for their table. It does not physically attach to the table but rather sits on top. It will house the lights underneath it.
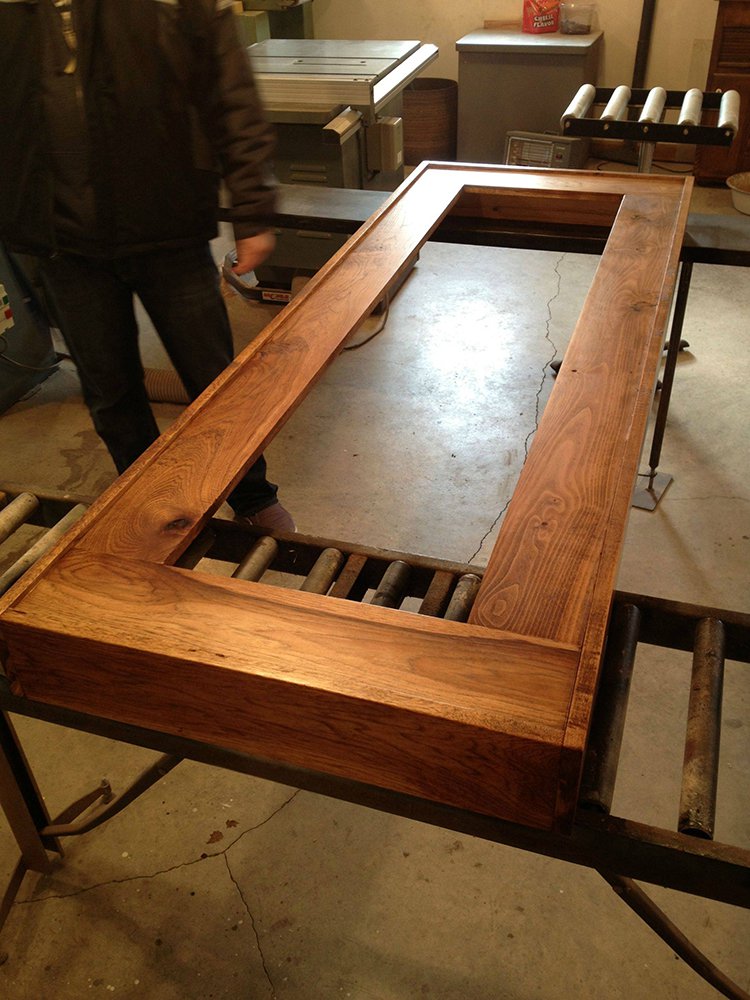
The top shell was constructed using biscuits and wood glue every foot or so.
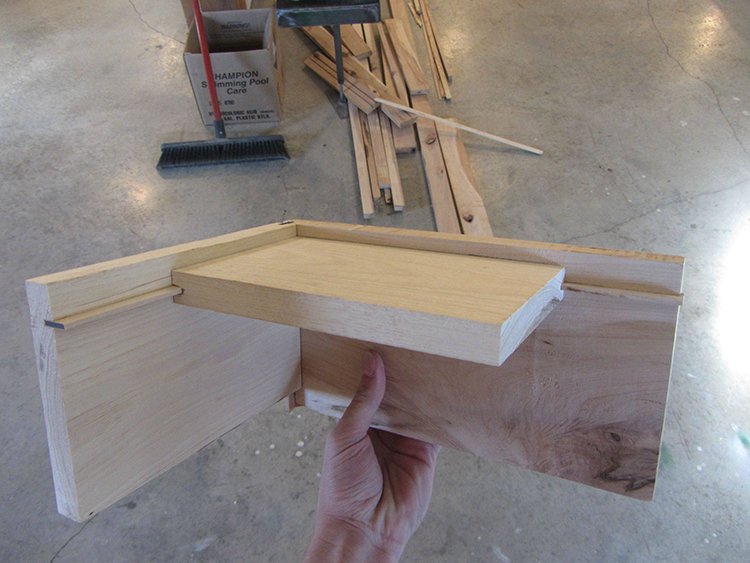
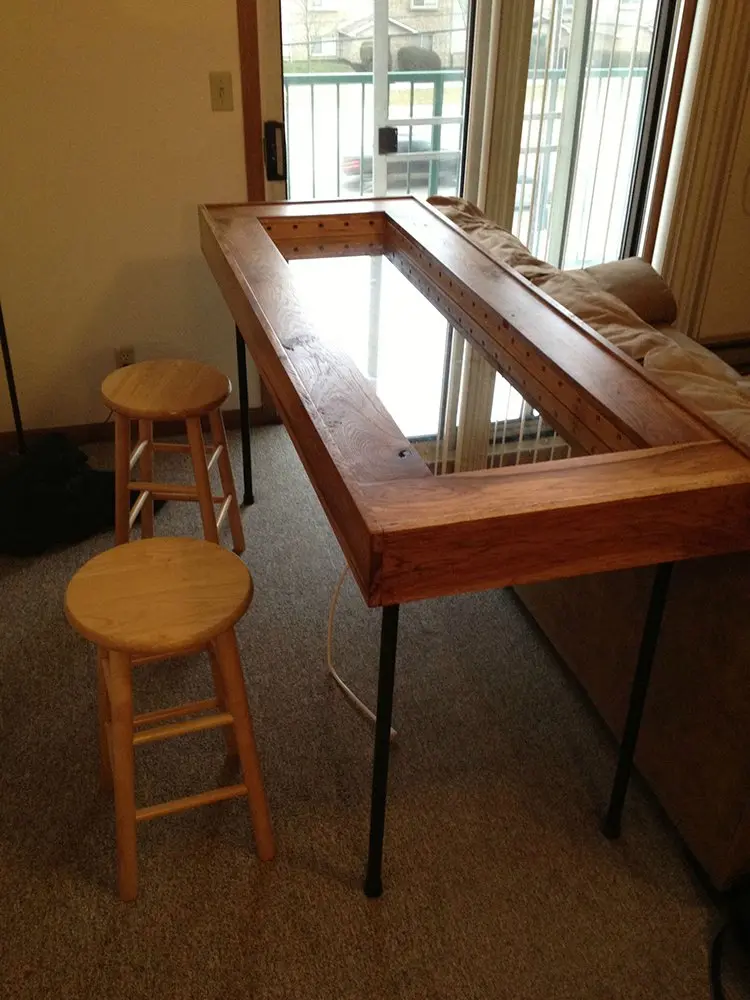
The table is looking great so far but the group were waiting for the lights, the Raspberry Pi and the two way mirror to arrive.
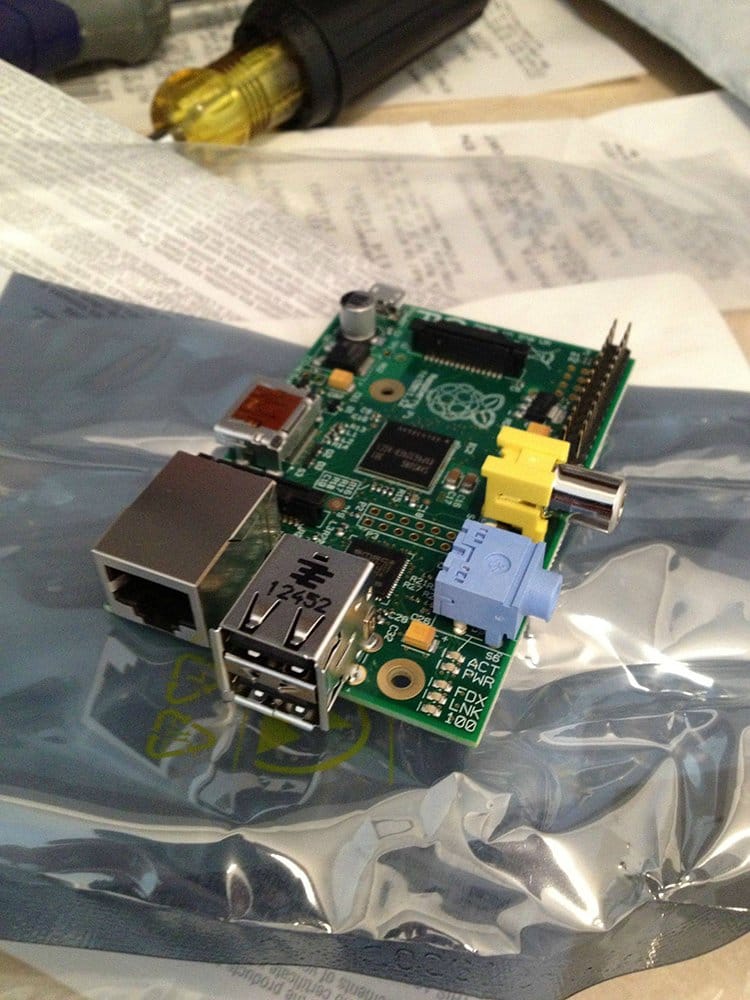
The Raspberry Pi arrived!
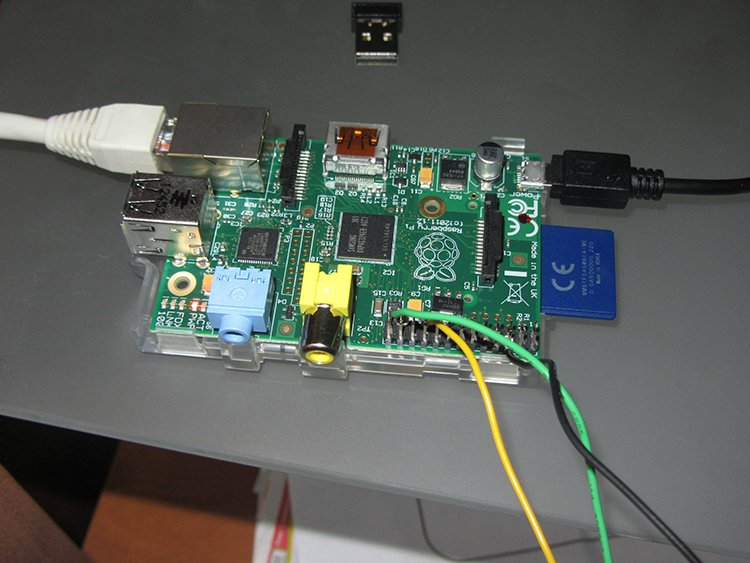
The group messed around with it, trying to get it to work.
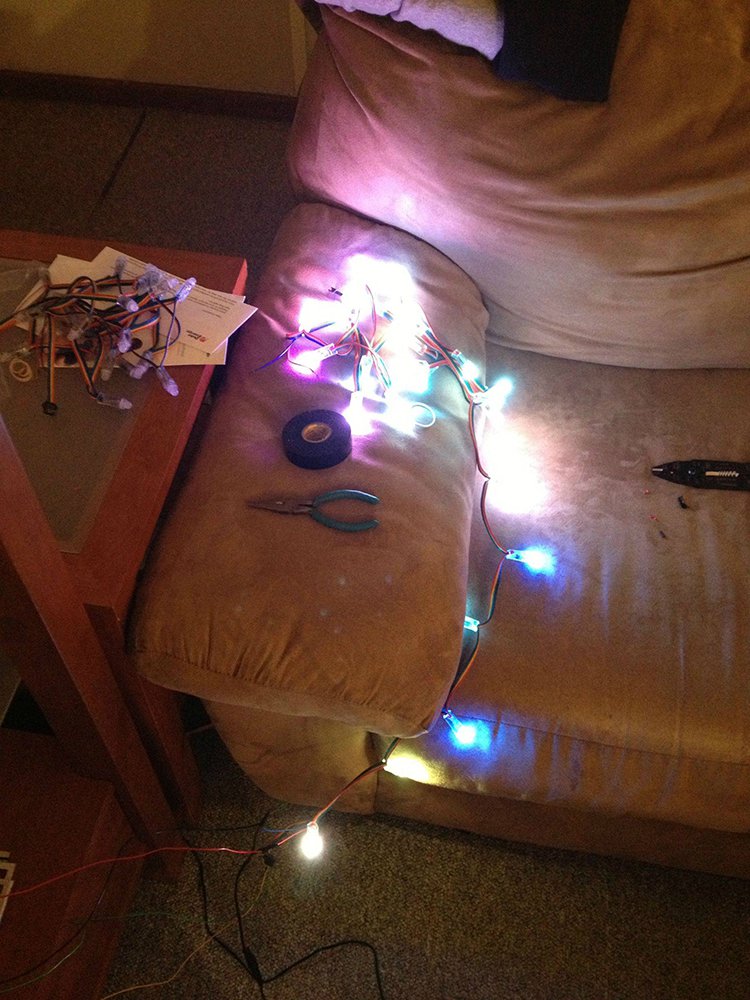
After a long time trying, they were able to get some lights to turn on!
It was now time to fit the lights into the holes you saw at the very beginning of the post.
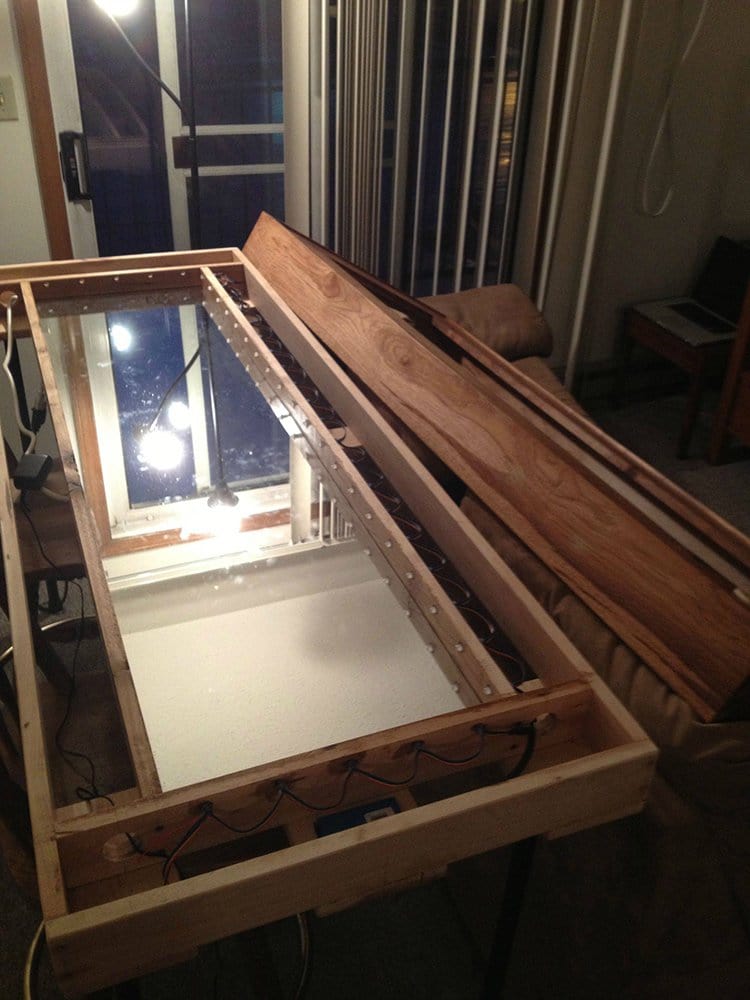
At first, the group could only get half of the lights to work but thankfully after some editing to the code, all was a success!
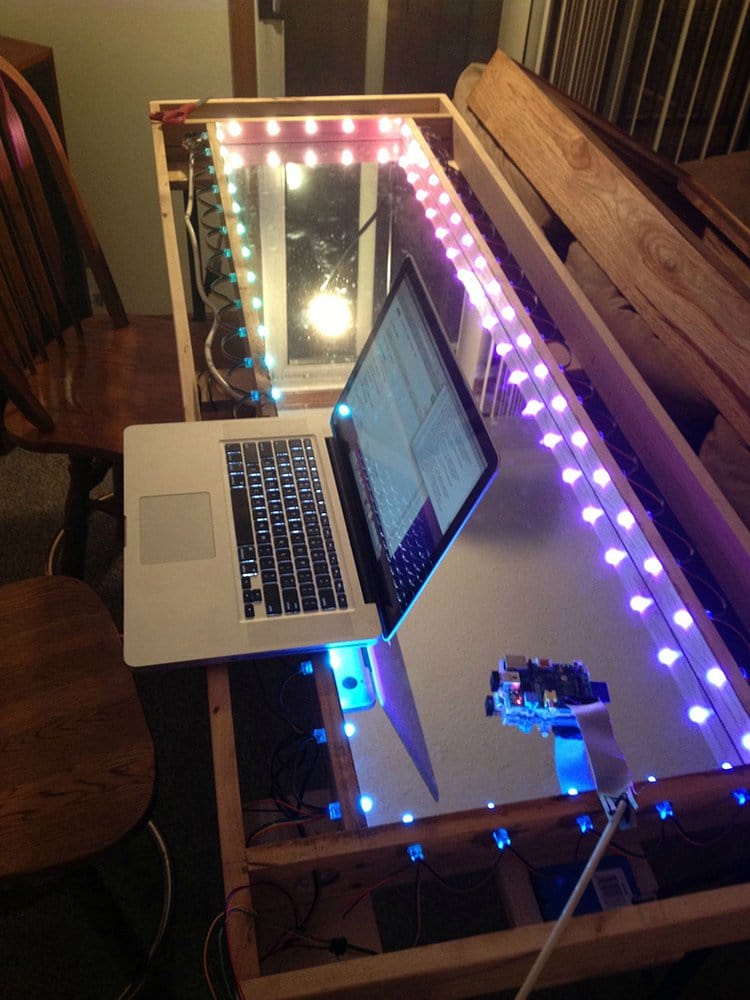
Here you see the very first trial! Doesn’t it look awesome?
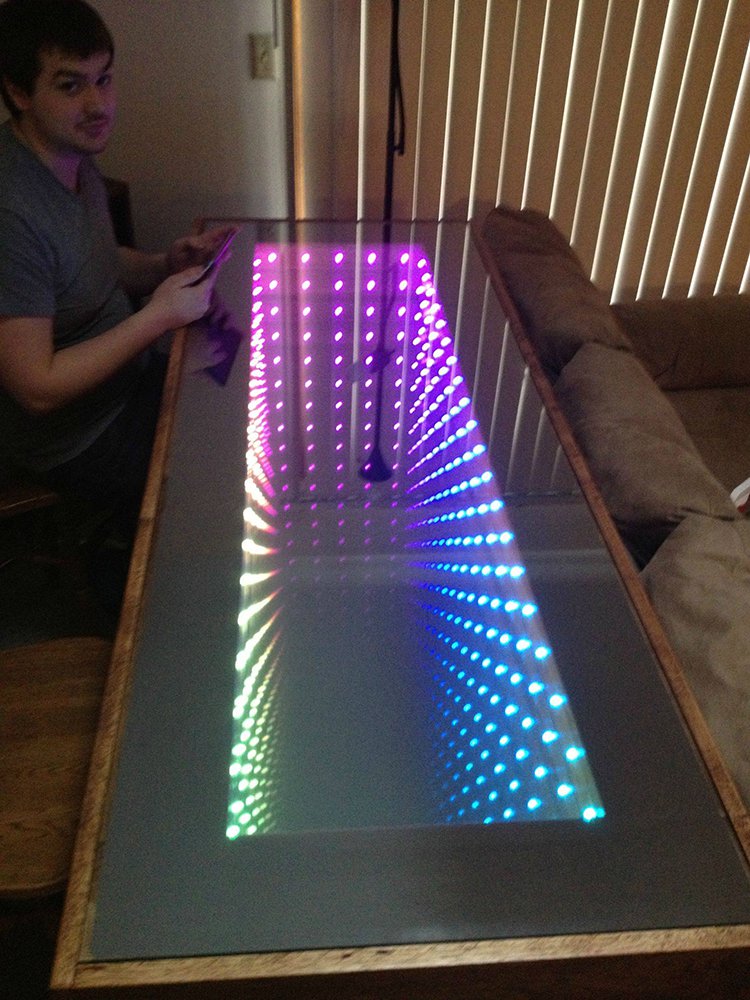
A tablet was used to change the settings.
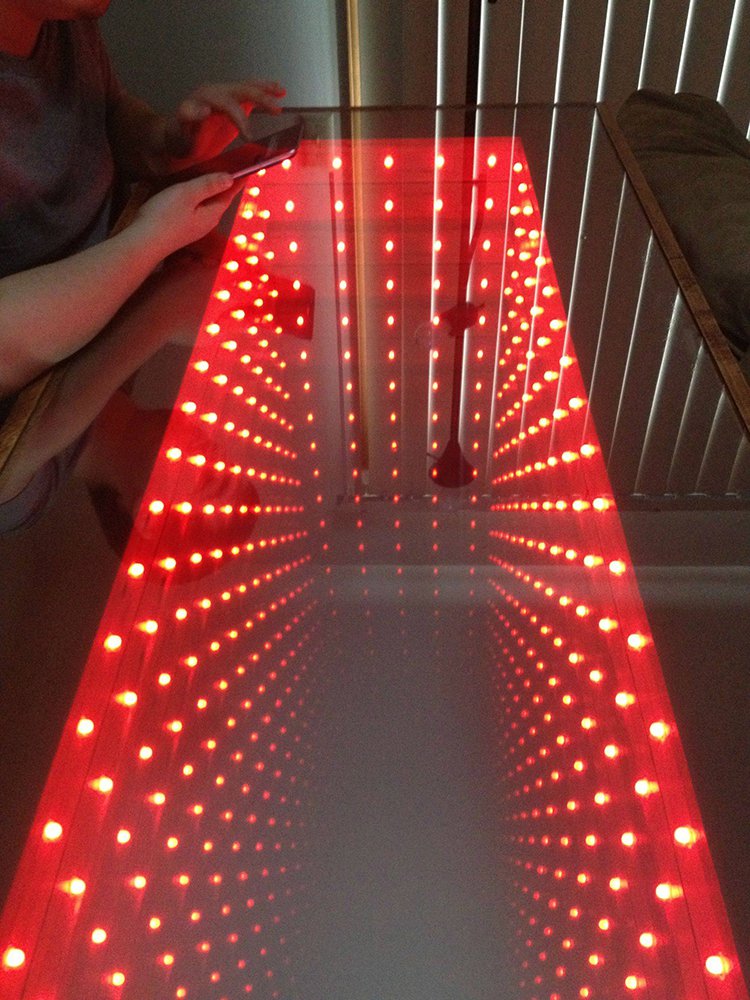
We can’t get over how great the table looks!
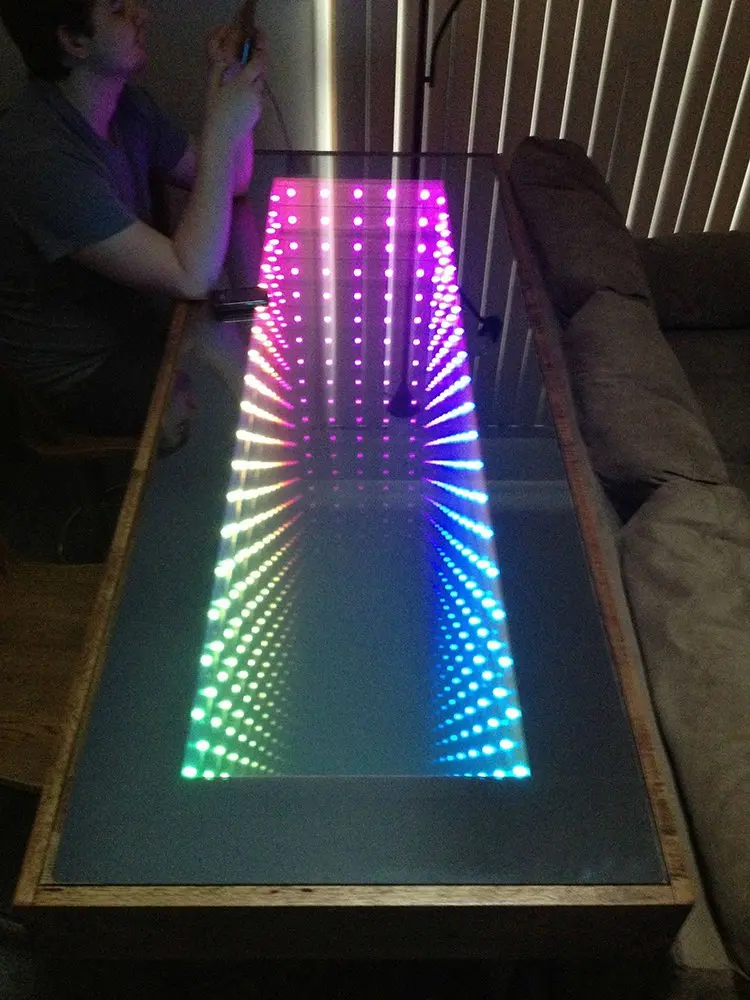
This type of table can be expensive to purchase but with some hard work and creativity you could make something similar to this!
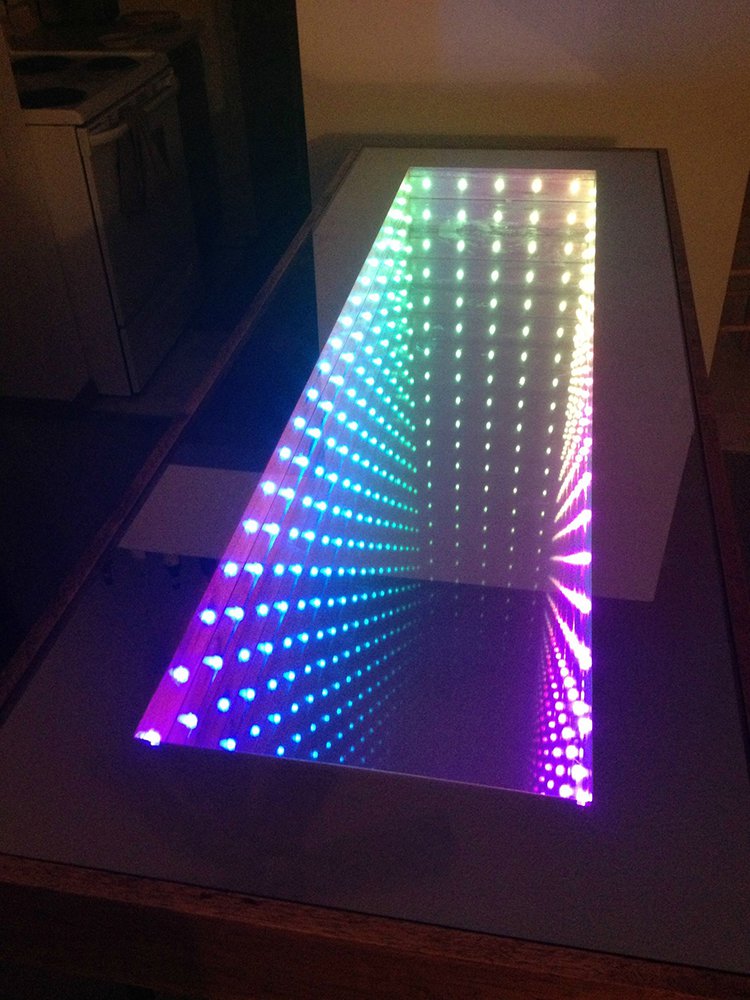
Guests will go nuts for this unique piece of furniture!
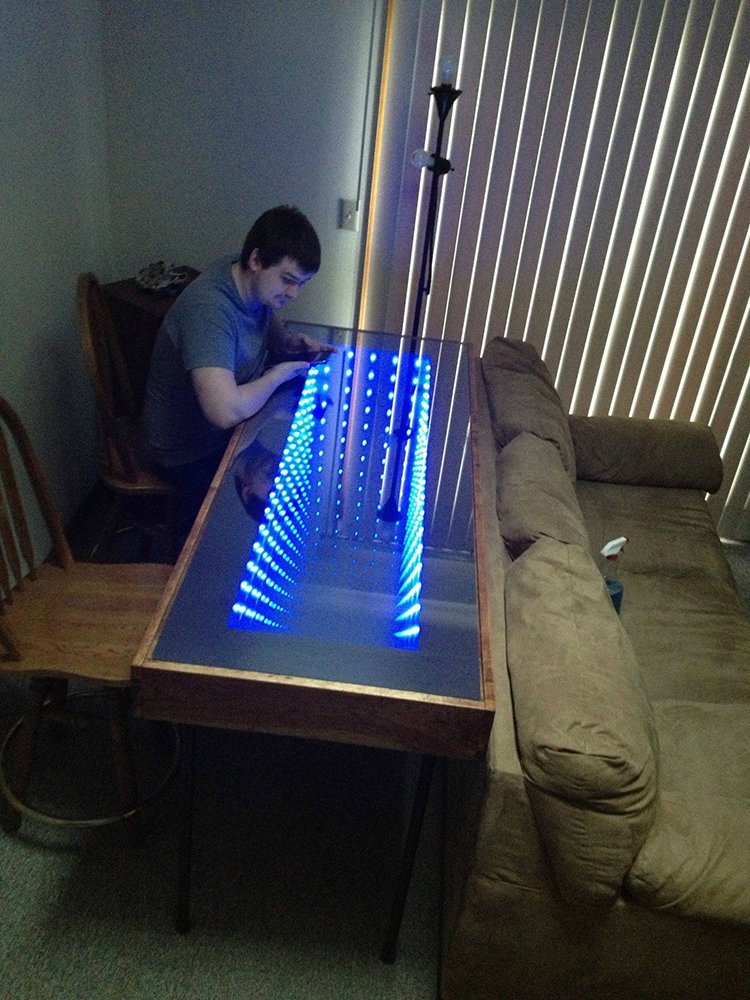
We think the multicolored pattern is the best one, but it’s good to know that you can change it if you get bored!
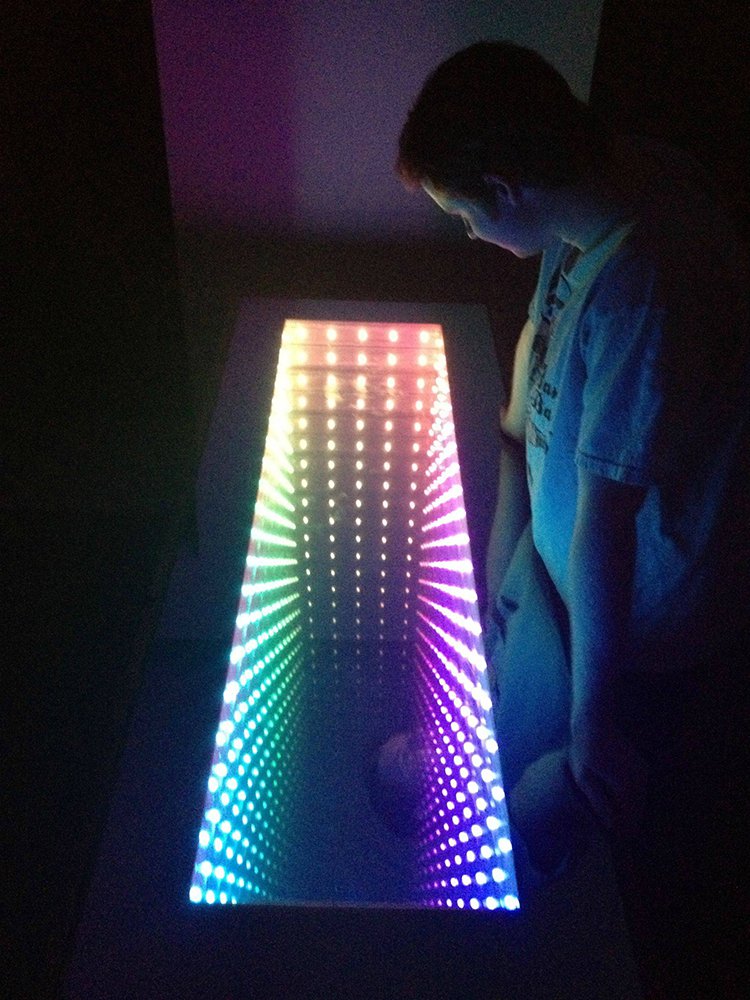
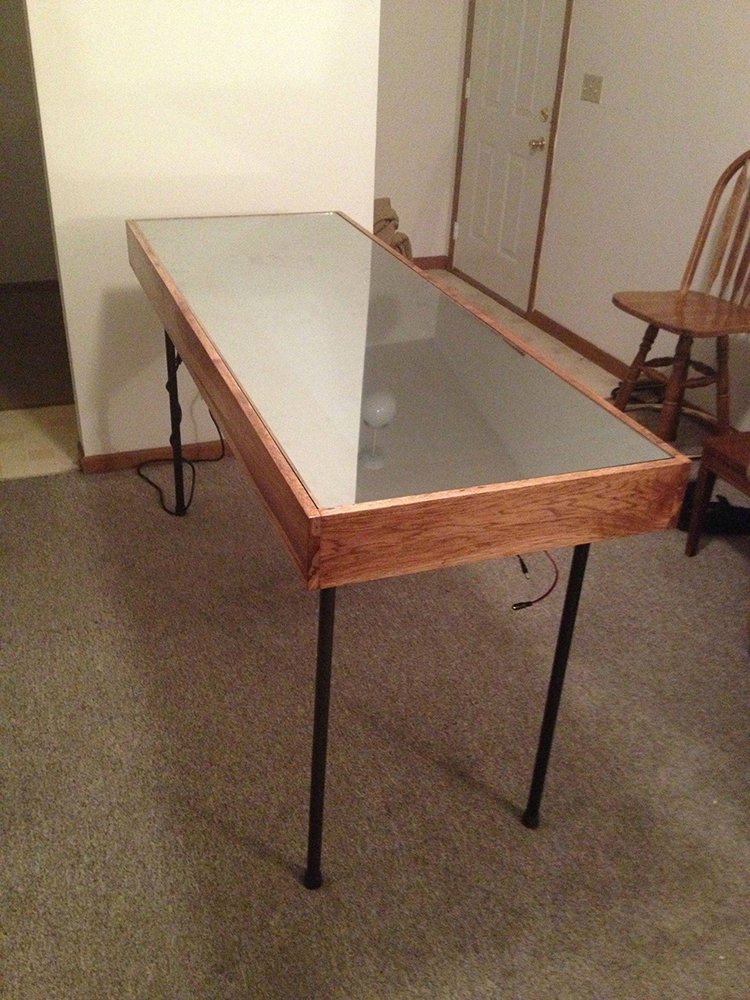
The table without the lights on, as you can see the internal bits are hidden.
Not to discredit the efforts of this group in any way, but, what we love about this project is that it’s no so difficult that an untrained person couldn’t give it a go! With the right tools, materials and a few pairs of extra hands, even a rookie DIY’er could successfully replicate this awesome table! Let us know your thoughts on the project in the comments below and feel free to share your own experiences if you have already taken on this challenge!
Source: Imgur

